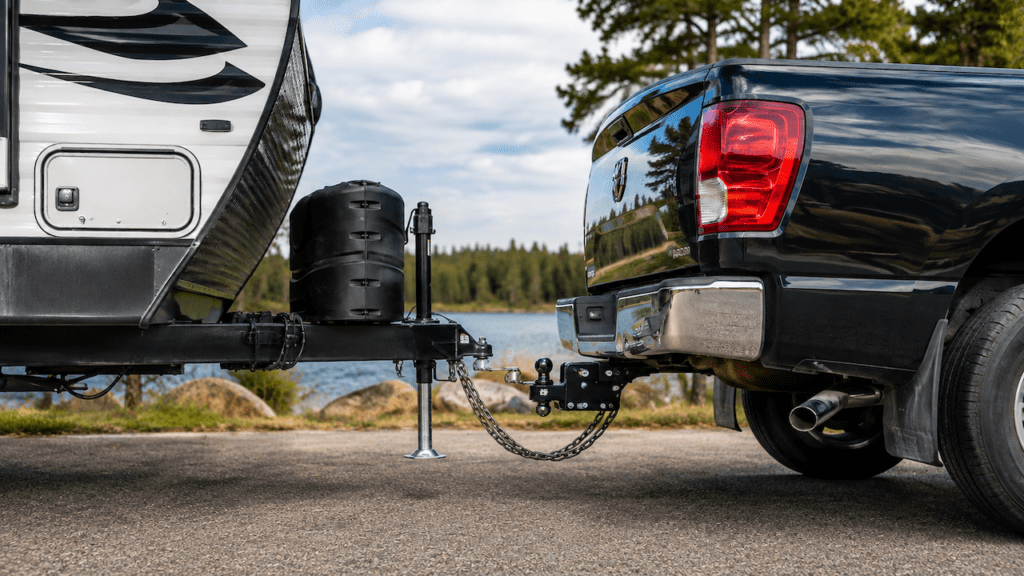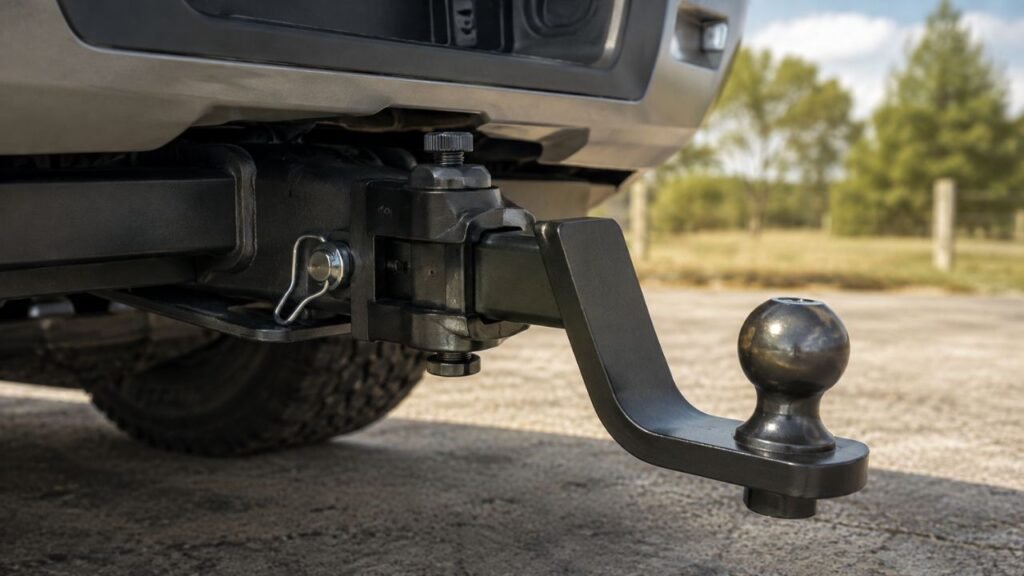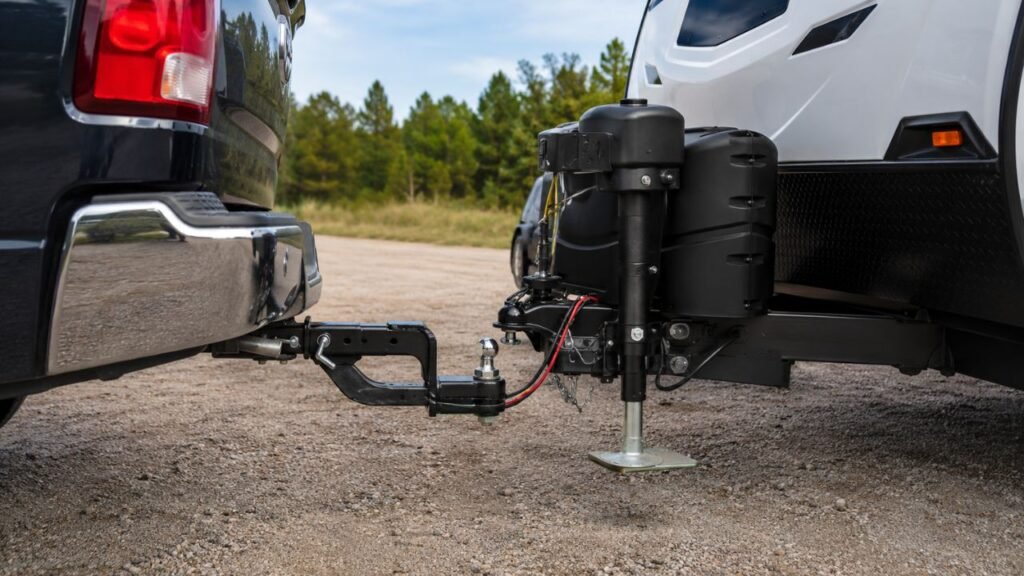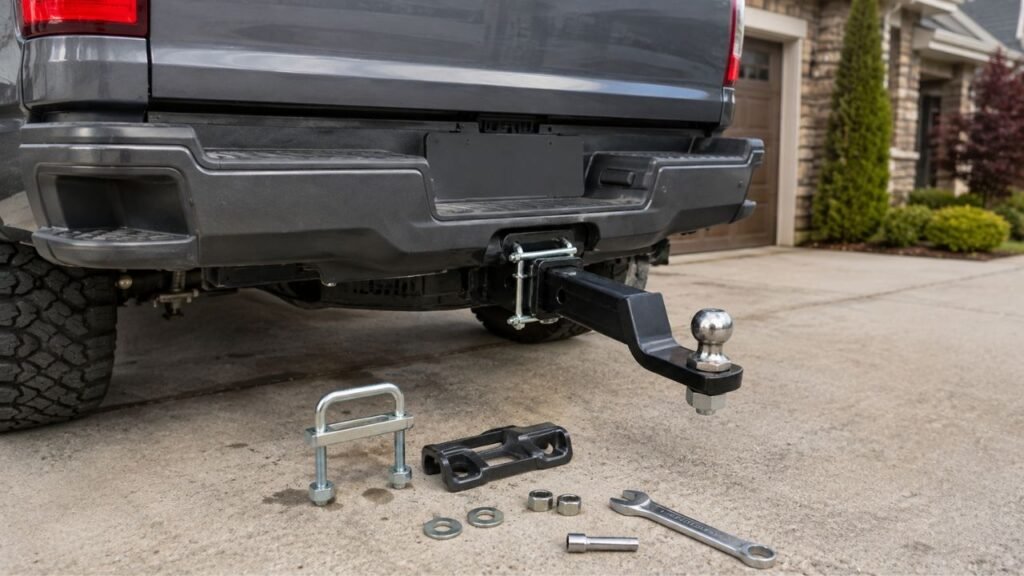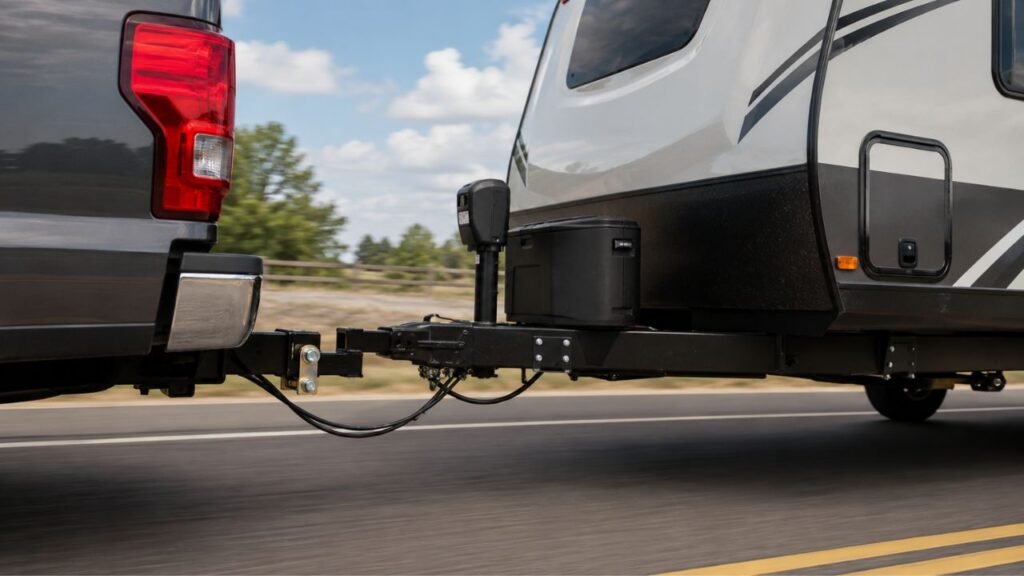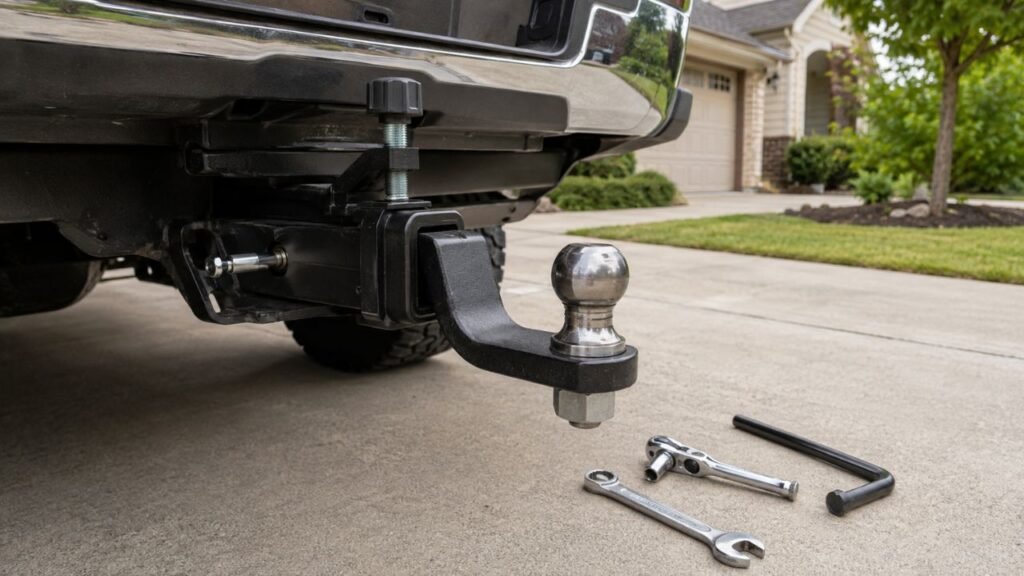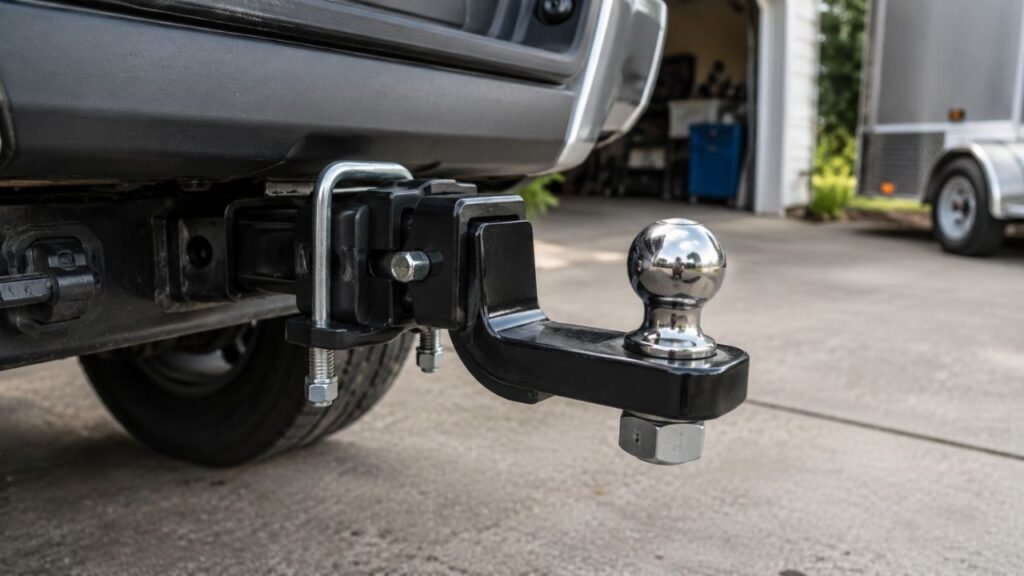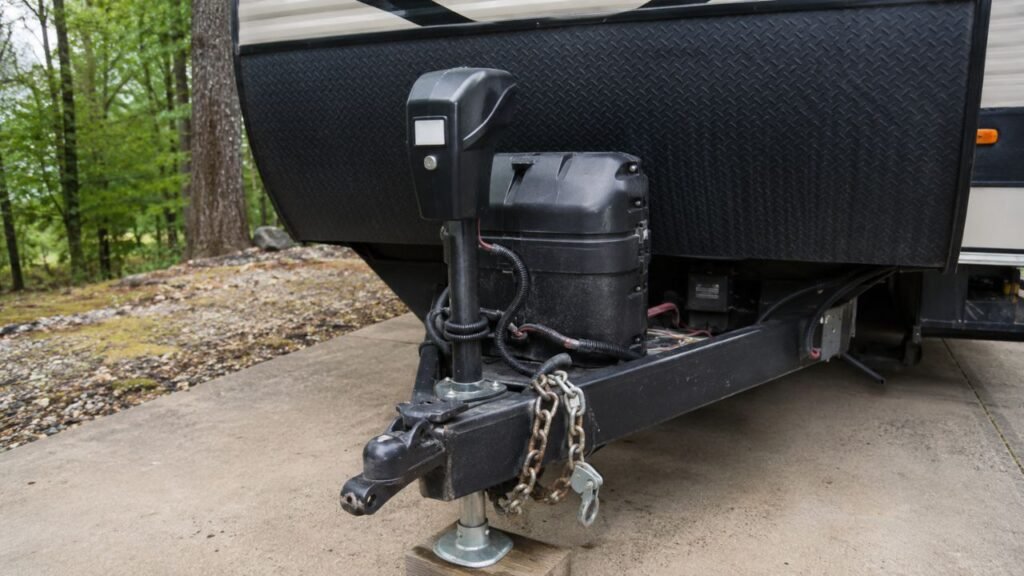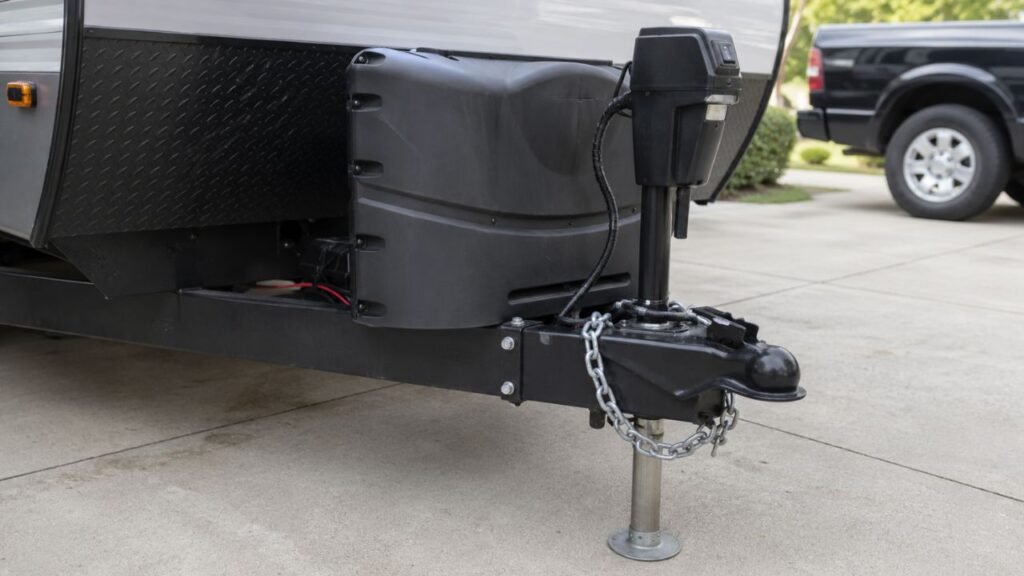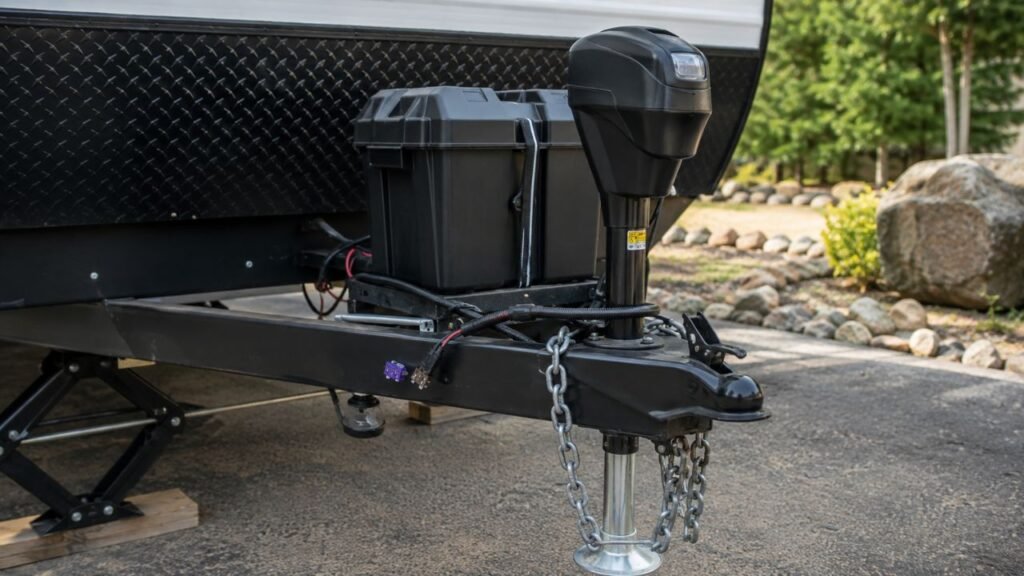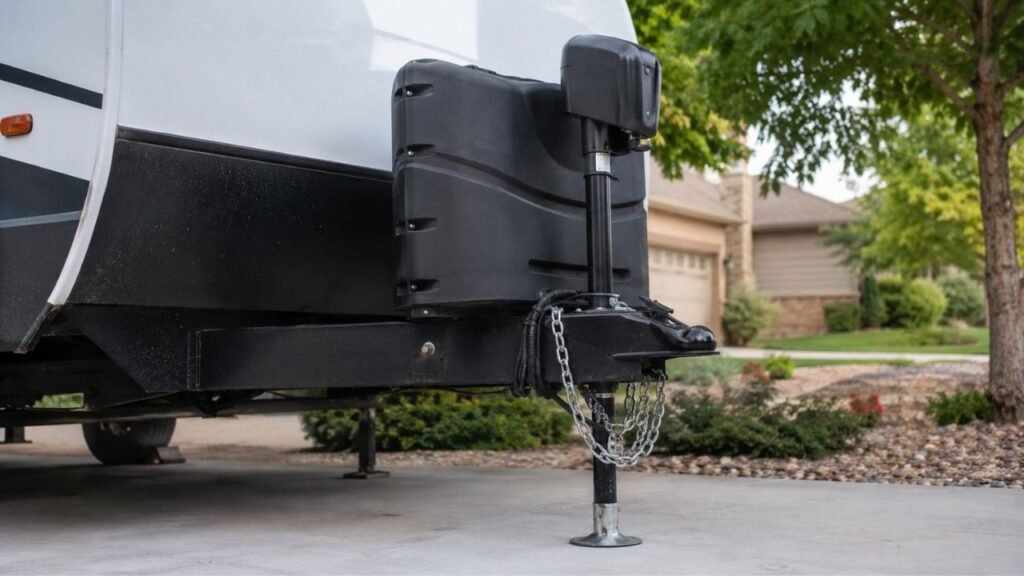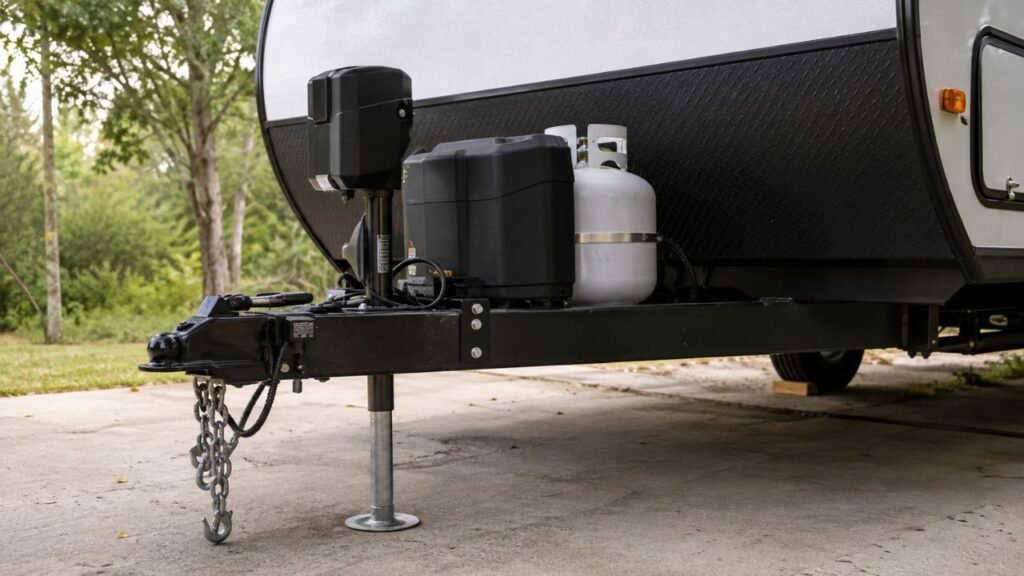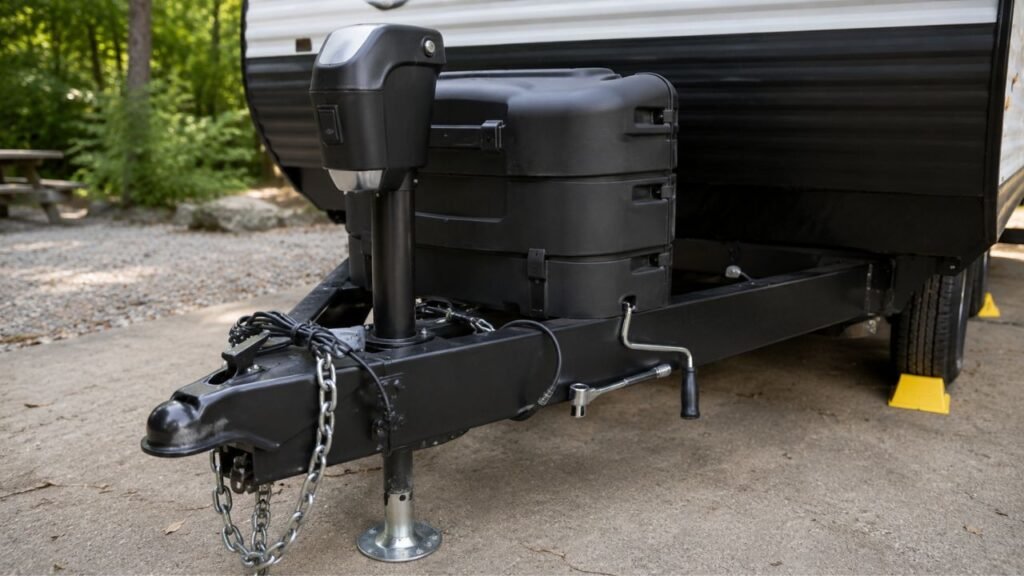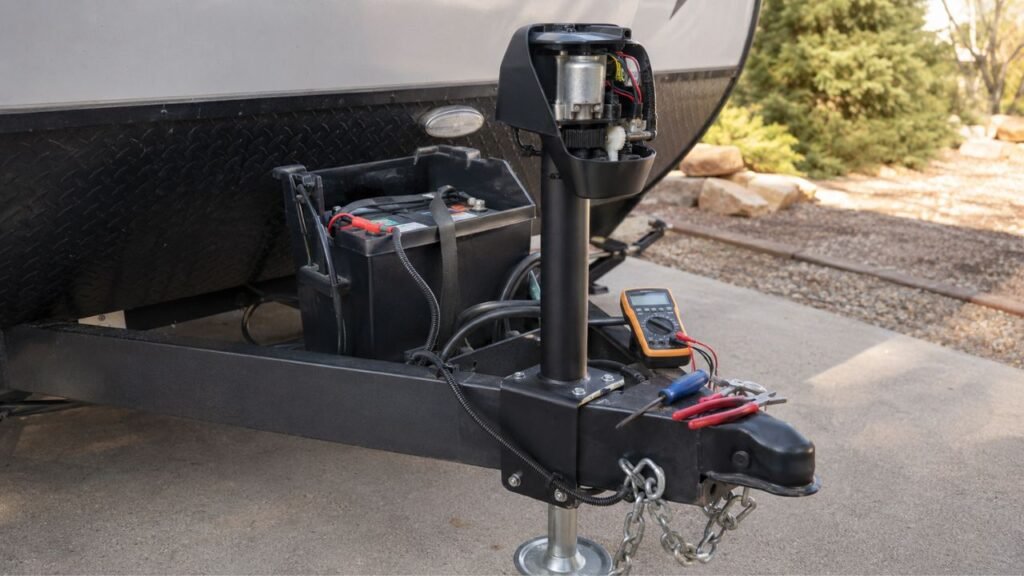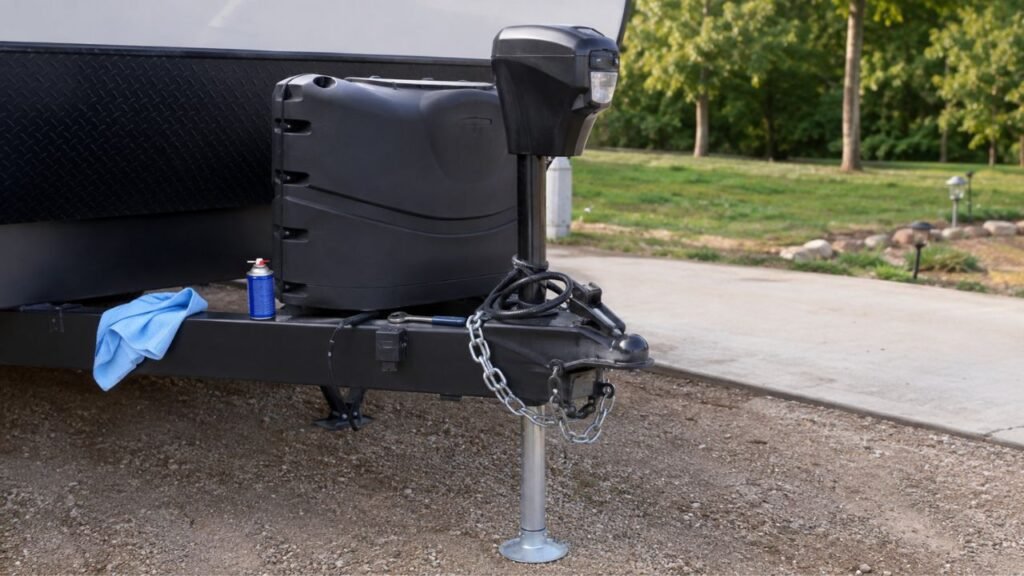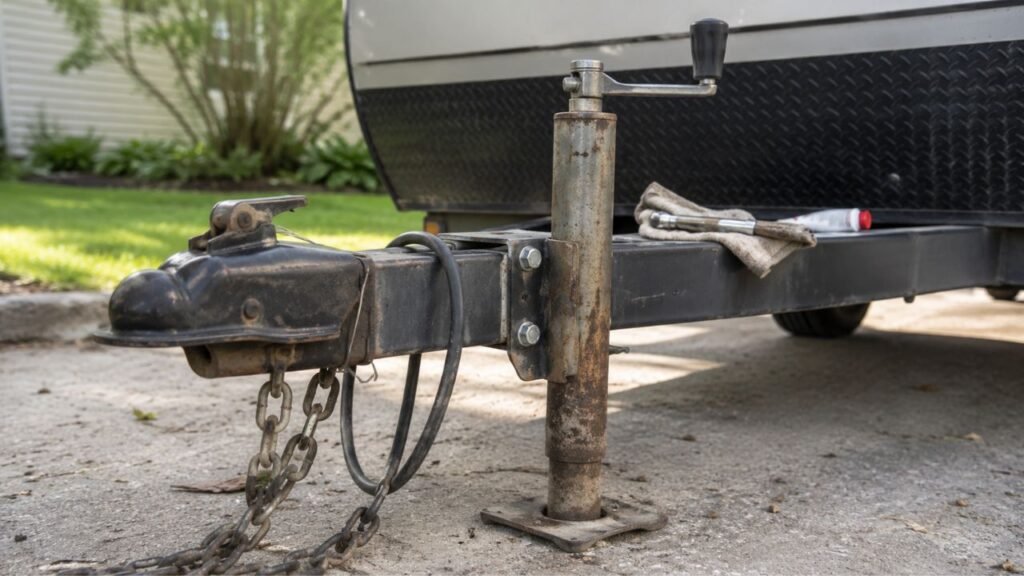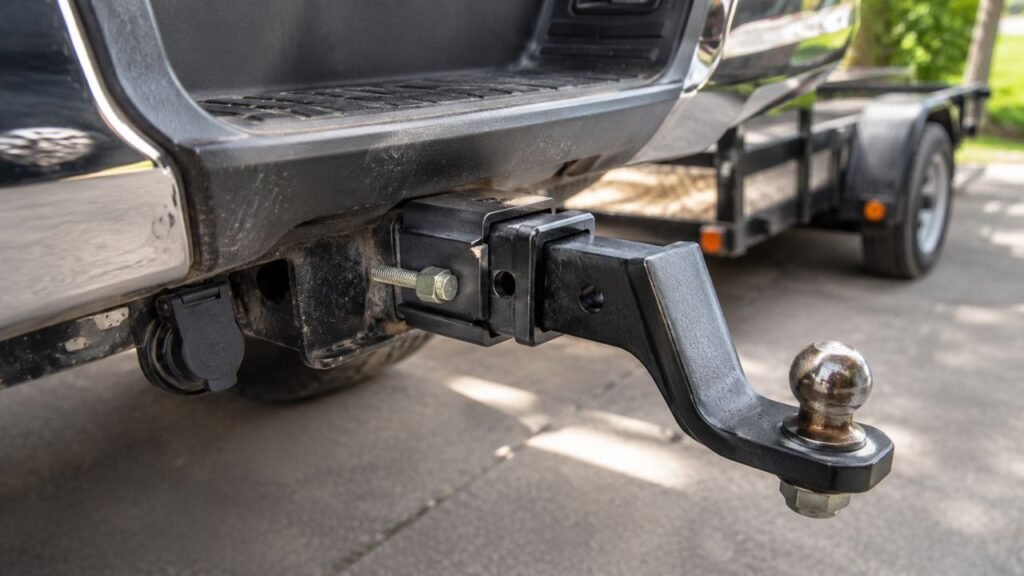
Your hitch may still rattle with a tightener installed because the clamp is loose, incorrectly positioned, mismatched to the receiver, or unable to control the movement causing the noise. Wear inside the receiver, a reducer sleeve, adjustable ball mount, hitch pin, coupler, or another towing component can also create rattling.
In this guide, I’ll help you track down exactly where that remaining movement is coming from. We’ll check the tightener first, then work through the receiver, ball mount, hitch pin, reducer, and other common trouble spots.
Key Takeaways
- A tight hitch tightener does not guarantee every hitch connection is tight.
- First identify whether the movement is vertical, sideways, or front-to-back.
- Incorrect sizing or placement can stop a tightener from working properly.
- Reducer sleeves and adjustable ball mounts create additional places for movement.
- The noise may come from the coupler, chains, exhaust, or another component.
- Worn or damaged hitch parts should be repaired instead of hidden with a tighter clamp.
Why Is My Hitch Still Rattling With a Tightener Installed?
A hitch tightener only controls movement at the connection where it is installed. If another part of your setup is moving, the noise can remain even when the clamp itself feels rock solid.
The problem can also be more subtle. Your tightener might be pulling the ball mount downward but not controlling enough sideways or front-to-back movement. Or you may have a reducer sleeve, adjustable hitch, or worn receiver creating play somewhere else.
This is why repeatedly tightening the same two nuts often does not solve the problem.
The better approach is to stop thinking of the hitch as one connection. Instead, look at it as several connected parts that can each move independently.
Once you find the exact point of movement, the fix usually becomes much easier.
First, Figure Out Where the Hitch Rattle Is Coming From
Before tightening anything again, spend a few minutes identifying when the noise happens. The timing of the rattle can tell you a lot about which connection needs attention.
| When You Hear the Noise | Likely Area to Check | What to Look For |
| Over bumps or potholes | Receiver and ball mount | Up-and-down or sideways movement |
| When braking | Ball mount, pin hole, coupler | Front-to-back clunking |
| When accelerating | Receiver, shank, coupler | Fore-and-aft movement |
| During turns | Coupler, ball, chains | Metallic contact or shifting |
| With a bike rack | Rack joints and receiver | Accessory movement |
| With a cargo carrier | Carrier frame and receiver | Flexing or loose joints |
| With a reducer sleeve | Receiver, reducer, shank | Movement at either connection |
| Even when the shank feels tight | Chains, exhaust, trailer hardware | Contact somewhere else |
With the vehicle parked safely, grab the ball mount and move it by hand.
Push it upward, downward, left, right, forward, and backward. Watch closely while doing this.
If the shank itself barely moves but you still hear metal clicking somewhere, your tightener may already be doing its job.
You simply need to look farther down the hitch system.
Common Reasons a Hitch Still Rattles After Installing a Tightener
Several problems can leave you with hitch noise even after adding an anti-rattle clamp. I recommend checking these causes in order rather than immediately buying another device.
The Tightener Is Not Tight Enough
Sometimes the simplest explanation is the correct one.
A hitch tightener can look properly installed while still allowing a small amount of movement between the shank and receiver.
Check whether the nuts, bolts, lever, or threaded mechanism have loosened since installation. Road vibration can reveal an installation that felt tight in your driveway but was not fully secured.
Do not simply tighten everything as hard as possible.
Follow the manufacturer’s tightening procedure. Over-tightening can damage threads, bend lighter hardware, or make future removal unnecessarily difficult.
The Tightener Is Installed in the Wrong Position
Placement makes a big difference.
Many external hitch clamps are designed to sit close to the receiver opening, where they can apply pressure directly to the shank and receiver connection.
If your clamp sits too far away, crooked, or partly against an uneven surface, it may not apply pressure where the movement actually happens.
Check that the plate sits flat and the U-bolt or clamping hardware is properly aligned.
Both sides should normally be tightened evenly unless your particular design says otherwise.
A few minutes spent repositioning the clamp can sometimes fix a rattle that has been bothering you for months.
You Have the Wrong Tightener for the Hitch
Not every anti-rattle device works with every receiver.
Common U.S. receiver sizes include:
- 1.25-inch
- 2-inch
- 2.5-inch
- 3-inch
You also need to consider whether your ball mount has a hollow or solid shank.
Some threaded anti-rattle hitch pins rely on hardware installed inside a hollow shank. Those designs generally cannot work the same way with a solid steel ball mount.
External hitch clamps are often more flexible, but they still need to match the receiver dimensions and mounting area.
If the device does not sit correctly around your particular hitch, no amount of tightening will make it work as intended.
The Tightener Is Controlling the Wrong Type of Movement
This is one of the most overlooked reasons a hitch still rattles.
Your ball mount can move in several directions:
- Up and down
- Side to side
- Forward and backward
A clamp may pull the shank firmly against the bottom of the receiver and almost eliminate vertical movement.
But you might still have slight sideways movement.
Likewise, a tightener can hold the shank against one receiver wall while some front-to-back movement remains around the hitch pin area.
This is why testing the hitch by hand in multiple directions is so useful.
Do not assume that eliminating one type of movement means every source of noise has disappeared.
There Is Too Much Clearance Between the Shank and Receiver
A ball mount cannot fit perfectly tight inside a receiver.
It needs some clearance so you can actually slide it in and remove it.
Manufacturing tolerances also vary slightly between hitch brands and ball mounts. One 2-inch ball mount may fit noticeably tighter than another inside the same 2-inch receiver.
Normally, a hitch tightener handles this free play without much trouble.
Problems begin when the gap is unusually large.
If the receiver or shank has worn over time, your tightener may be trying to compensate for more movement than it was designed to handle.
You may tighten the clamp and reduce most of the rattle, yet still feel noticeable play.
That is the point where you should inspect the metal itself.
Your Receiver or Ball Mount Is Worn
Years of towing can slowly wear the areas where the shank contacts the receiver.
Look closely at both pieces.
Signs that deserve attention include:
- Rounded or heavily worn shank edges
- Deep grooves in the ball mount
- An enlarged receiver opening
- Significant rust scaling
- Elongated hitch pin holes
- Distorted metal around the receiver
- A hitch pin that sits unusually loose
Surface rust is common and does not automatically mean the hitch is unsafe.
Heavy corrosion that removes material is different.
If the opening has become visibly distorted or the hitch pin hole has stretched into an oval shape, adding stronger anti-rattle hardware is not the correct repair.
Have the hitch inspected and replace worn components when necessary.
A Reducer Sleeve Is Still Moving
Reducer sleeves deserve special attention because they create another connection inside your hitch.
For example, you might have:
2.5-inch receiver → reducer sleeve → 2-inch ball mount
That means you now have two potential locations for movement.
Your tightener may secure the ball mount inside the reducer perfectly while the reducer itself still moves inside the truck’s receiver.
Or the opposite can happen.
Grab the setup and watch both joints carefully.
If your truck uses a factory 2.5-inch or 3-inch receiver with a smaller ball mount, this should be one of the first things you check.
You may need an anti-rattle solution designed specifically for the reducer connection.
The Hitch Pin or Pin Hole Is Allowing Movement
Your hitch pin and tightener do different jobs.
The hitch pin prevents the ball mount from sliding out of the receiver. The tightener is usually responsible for reducing unwanted movement inside the receiver.
Inspect the pin anyway.
Check for:
- Bending
- Unusual wear
- Incorrect diameter
- Loose locking hardware
- Damaged threads
- Excessive movement inside the pin hole
Also inspect the holes in both the receiver and ball mount.
If those holes have become enlarged, you may notice a distinctive clunk when braking or accelerating.
That front-to-back motion can remain even when the tightener feels very secure.
Your Adjustable Ball Mount Is Rattling
Adjustable ball mounts contain several additional moving parts.
Your setup may include:
- Adjustment channels
- Height-setting pins
- Ball platform
- Dual-ball assembly
- Locking pins
- Sleeves or brackets
The receiver connection can be completely tight while one of those parts still rattles.
Stand beside the hitch and move each section separately.
If the shank does not move but the adjustable ball platform does, your anti-rattle receiver clamp cannot solve that particular noise.
Some adjustable hitches naturally have a small amount of clearance because their components must slide during adjustment.
Excessive movement, however, should be inspected.
The Noise Is Not Coming From the Receiver at All
This is surprisingly common.
The sound seems like it is coming from the receiver because everything is close together underneath the back of your vehicle.
Possible noise sources include:
- Trailer coupler
- Hitch ball
- Safety chains
- Weight distribution hitch hardware
- Bike rack joints
- Cargo carrier frame
- Spare tire carrier
- Trailer jack hardware
- Loose trailer cargo
- Exhaust touching the hitch
Safety chains are especially good at fooling you.
They can slap or click against the hitch during bumps and turns.
The exhaust can also contact a receiver or accessory when the vehicle moves over uneven roads.
If your ball mount feels solid after installing the tightener, start checking these other components before changing the clamp again.
How to Fix a Hitch That Still Rattles With a Tightener
You do not need to replace everything at once. Work through the hitch connection step by step and eliminate one possible source of movement at a time.
- Park safely on level ground: Secure your vehicle and trailer before inspecting anything around the hitch.
- Move the ball mount by hand: Check upward, downward, sideways, forward, and backward movement to identify any play in the connection.
- Confirm your hitch sizes: Verify the receiver size, ball mount shank size, and tightener compatibility to ensure all components match correctly.
- Check the shank design: Determine whether your ball mount is hollow or solid if your anti-rattle system uses internal hardware, as this affects fit and performance.
- Inspect the tightener position: Make sure it sits where the manufacturer intends it to sit so it can apply proper pressure to the hitch connection.
- Retighten the hardware properly: Tighten both sides evenly when applicable to maintain balanced clamping force and prevent uneven movement.
- Follow the product’s specified tightening method: Do not guess a universal torque value, and always follow the instructions provided for your specific device.
- Inspect the receiver and shank: Look for rust, wear, distortion, and enlarged pin holes that could allow excess movement even with a tightener installed.
- Check your reducer sleeve separately: Test both the receiver-to-reducer and reducer-to-shank connections since either interface can introduce rattling.
- Inspect adjustable hitch components: Move the ball platform and adjustment pins independently to identify any internal play or looseness.
- Check the coupler, chains, and accessories: Make sure the noise truly comes from the receiver area and not from chains, coupler, or nearby components.
- Test the setup carefully: After fixing the problem, take a short controlled drive and listen again to confirm the rattle has been resolved.
This process is much more effective than continually adding washers, clamps, or homemade padding without knowing where the noise originates.
Which Anti-Rattle Device Works for Each Type of Hitch Play?
Different devices control movement in different ways. Knowing what each one actually does can help you avoid installing another product that does not address your problem.
- External hitch clamp: Works well for reducing receiver-to-shank movement by forcing the ball mount firmly against part of the receiver.
- Threaded anti-rattle hitch pin: Pulls a compatible hitch accessory against one receiver wall. Many designs require a hollow shank.
- Hitch collar or immobilizer: Clamps around the receiver opening to limit movement.
- Anti-rattle reducer: Helps control movement when adapting a larger receiver to a smaller ball mount.
- Built-in anti-rattle system: Some adjustable hitches, racks, and accessories include their own tightening mechanism.
The important point is matching the solution to the movement.
If your reducer sleeve is rattling, another clamp around the ball mount may not help.
If your adjustable hitch platform is rattling, tightening the receiver connection harder may also achieve nothing.
Should You Add a Shim If the Tightener Still Does Not Work?
A properly designed metal shim or hitch-specific anti-rattle wedge can sometimes help reduce excessive clearance between compatible hitch components. However, I would not use random materials as a permanent towing fix.
You may see people recommend electrical tape, foam, wood, rubber strips, or other homemade fillers. These materials can compress, tear, fall out, trap moisture, or hide a worsening fit.
For a bike rack or lightweight accessory, some temporary methods may reduce noise.
For towing a trailer, I prefer purpose-built hitch hardware.
If the gap is large enough that a normal tightener cannot control it, inspect the receiver and ball mount before adding thicker material. A worn connection needs repair or replacement, not layers of improvised padding.
When a Hitch Tightener Is No Longer the Right Fix
An anti-rattle device works well for normal clearance, but it is not a repair tool for damaged towing equipment. Stop trying to tighten around the problem if you find signs of structural wear.
Watch for:
- Elongated hitch pin holes
- A visibly distorted receiver opening
- Cracks around the receiver or welds
- Severe corrosion or missing metal
- A bent ball mount
- A bent or badly worn hitch pin
- Loose receiver mounting hardware
- Major movement despite correct installation
- Damage around an adjustable hitch mechanism
If you see any of these problems, have the hitch inspected before towing again.
You should especially avoid using a tightener to hide increasing movement that has developed over time.
Noise is annoying.
Structural wear is a different problem.
Is It Safe to Tow If the Hitch Still Rattles?
A little hitch noise does not automatically mean your towing setup is unsafe. Receiver-mounted accessories need some clearance, and adjustable components may naturally have a small amount of movement.
What matters is why the noise exists.
If your hitch still rattles but the receiver, ball mount, pin, coupler, and mounting hardware are undamaged and properly secured, you may simply be hearing normal movement somewhere in the setup.
However, obvious looseness deserves attention.
Do not ignore rattling accompanied by elongated pin holes, cracks, severe corrosion, a bent pin, loose receiver bolts, damaged welds, or abnormal coupler movement.
When you cannot confidently identify the source, getting the hitch inspected is safer than assuming the tightener makes everything okay.
How to Keep Your Hitch Tightener From Rattling Again
Once you get the hitch quiet, a little routine inspection can keep the problem from returning. Most checks only take a minute before you tow.
- Use the correct tightener for your receiver size.
- Make sure the device matches your shank design.
- Install the tightener in the recommended position.
- Keep the receiver opening free of heavy rust and debris.
- Check the clamp hardware before longer towing trips.
- Inspect threaded components for damage or corrosion.
- Check reducer sleeves as separate connections.
- Inspect adjustable ball mount pins regularly.
- Watch for increasing receiver or pin-hole wear.
- Replace damaged hardware instead of tightening around it.
You do not need to obsess over every tiny sound.
Just pay attention when the hitch suddenly becomes louder or develops noticeably more movement than it had before.
Final Words
If your hitch is still rattling with a tightener installed, tightening the clamp harder is not always the answer. First determine exactly which component is moving and which direction that movement occurs.
Check the tightener position and compatibility, then inspect the receiver, shank, hitch pin, reducer sleeve, and adjustable hitch parts. If those are solid, move on to the coupler, safety chains, exhaust, and other nearby components.
Once you identify the actual source, you can fix the rattle instead of repeatedly treating the wrong connection.
Related FAQs
Why Does My Hitch Still Clunk When Braking With an Anti-Rattle Tightener?
A braking clunk often comes from front-to-back movement rather than simple vertical hitch play. Check the ball mount, hitch pin holes, adjustable hitch components, and trailer coupler. Your tightener may already be controlling up-and-down movement while another connection shifts when braking forces change.
How Tight Should an Anti-Rattle Hitch Tightener Be?
Tighten an anti-rattle hitch device according to the manufacturer’s instructions rather than using a universal torque value. Different clamps, threaded pins, collars, and lever-style devices use different tightening methods. The connection should be secure without damaging the hardware or receiver.
Should a Hitch Have Any Play After Installing a Tightener?
A properly installed tightener should significantly reduce movement at the receiver-to-shank connection, but it may not eliminate every small movement elsewhere. Adjustable ball mounts, reducer sleeves, couplers, bike racks, and other accessories can still have some clearance.
Why Does My Hitch Tightener Keep Coming Loose?
A tightener may loosen because it was not installed correctly, the hardware was not tightened evenly, the threads are damaged, corrosion is present, or the device does not fit the receiver properly. Remove it, inspect every part, then reinstall it according to the manufacturer’s directions.
Can a Reducer Sleeve Cause Hitch Rattle?
Yes. A reducer sleeve creates another connection between the receiver and ball mount. Movement can occur between the receiver and reducer or between the reducer and shank, so both areas should be checked separately.
Will an Anti-Rattle Clamp Work With a Solid Shank?
Many external clamp-style anti-rattle devices can work with solid ball mount shanks because they apply pressure from outside the receiver. Internal threaded anti-rattle systems may require a hollow shank, so always check the specific device compatibility first.
Why Does My Adjustable Hitch Still Rattle?
Adjustable hitches have extra pins, channels, brackets, and ball platforms that can move independently. Your receiver connection may be completely tight while the adjustable portion still creates noise over bumps, during braking, or when changing direction.
Can Safety Chains Sound Like Hitch Rattle?
Yes. Safety chains can slap against the hitch, receiver, bumper, or each other and create a metallic rattle that sounds like a loose ball mount. If the receiver feels solid, check chain contact before changing the tightener.
Can an Anti-Rattle Tightener Fix a Worn Receiver?
A tightener may reduce movement in a mildly loose receiver, but it cannot properly repair damaged or badly worn metal. Enlarged pin holes, severe corrosion, cracks, or a distorted receiver should be inspected and repaired or replaced rather than concealed with a clamp.
Can I Use Two Anti-Rattle Devices Together?
Sometimes two compatible devices can control different types of movement, but stacking anti-rattle products should not be your first response. First identify where the movement occurs. If one correctly installed device cannot control the connection, excessive wear or the wrong product may be the real problem.

Ryan Mitchell writes for readers who prefer independent travel and practical outdoor motorhome living. His how-to guides and reviews focus on simplicity, durability, and real value. He brings a calm, hands-on perspective to every topic.