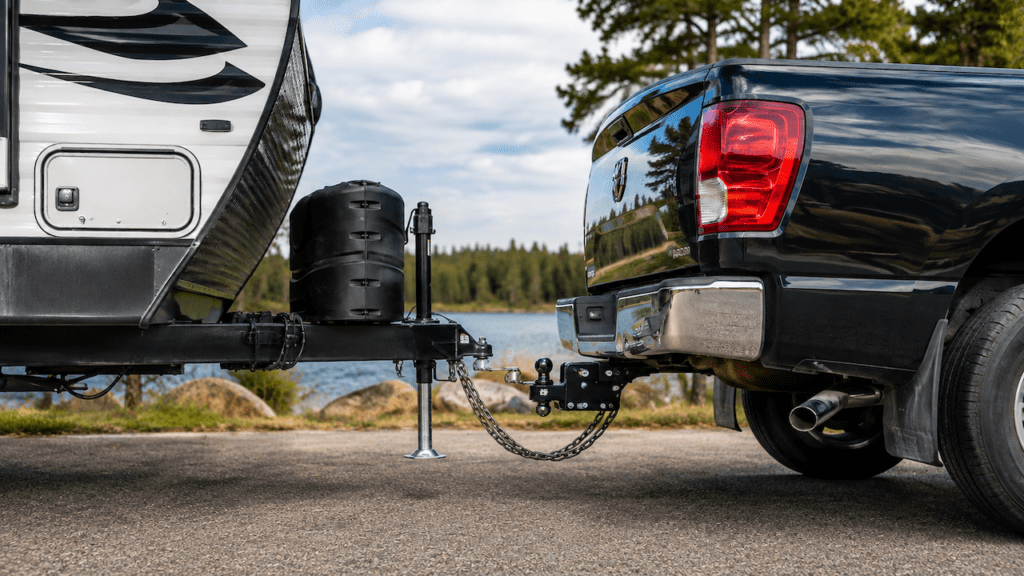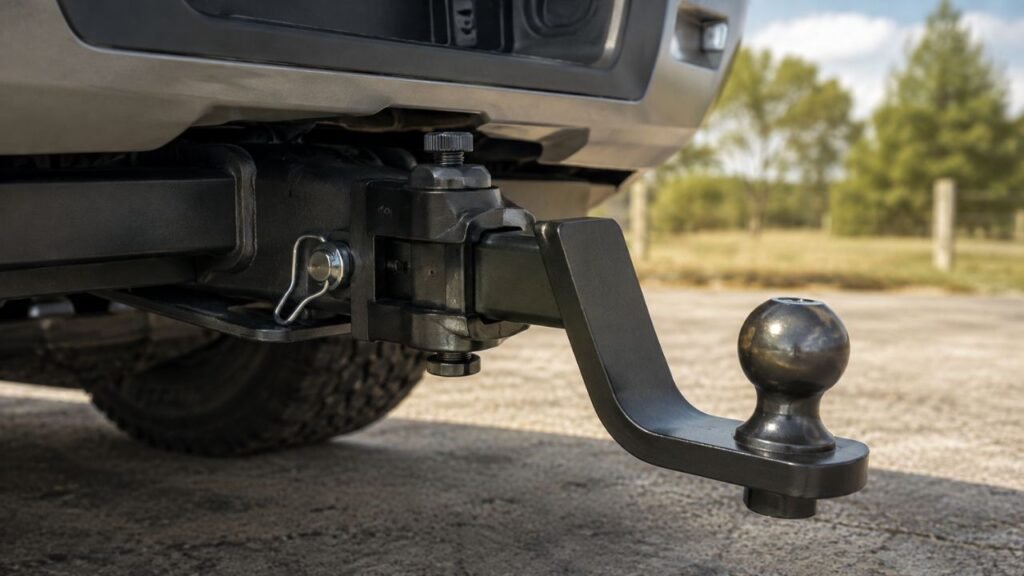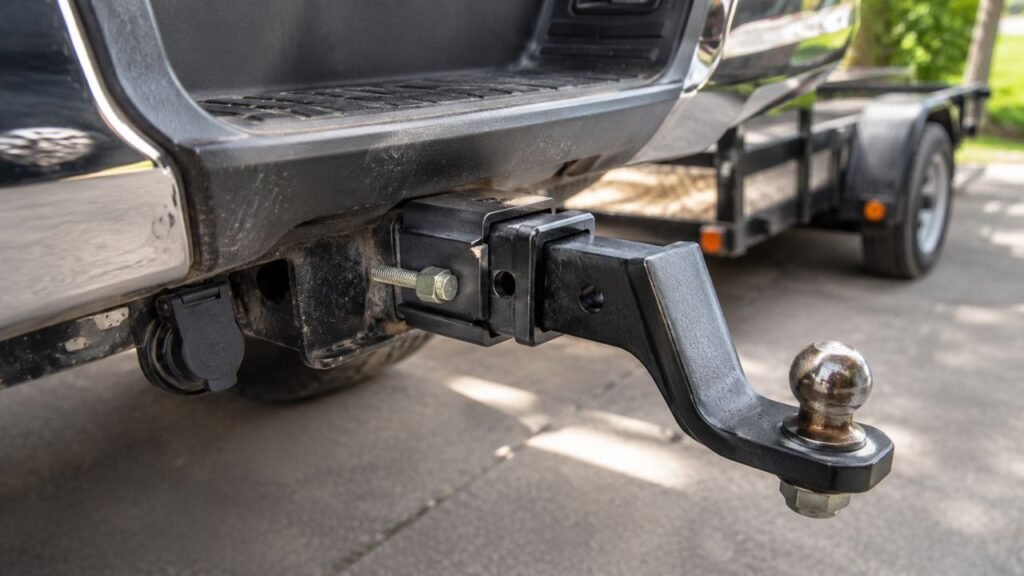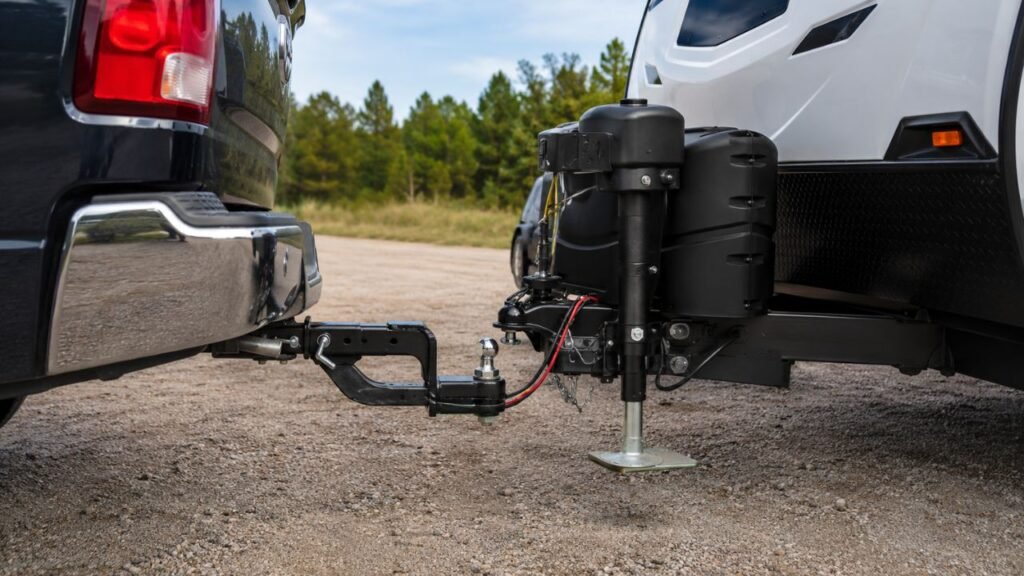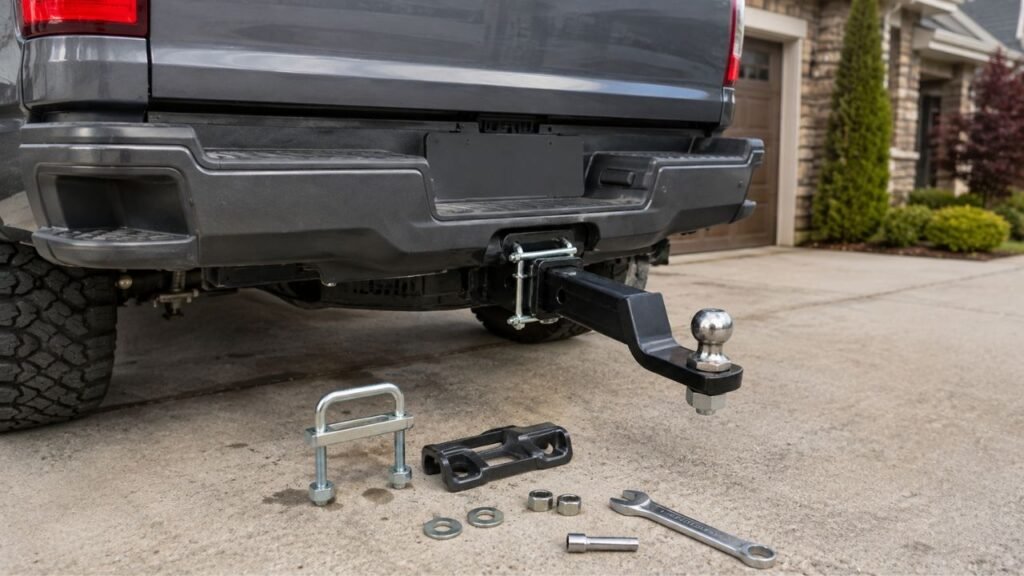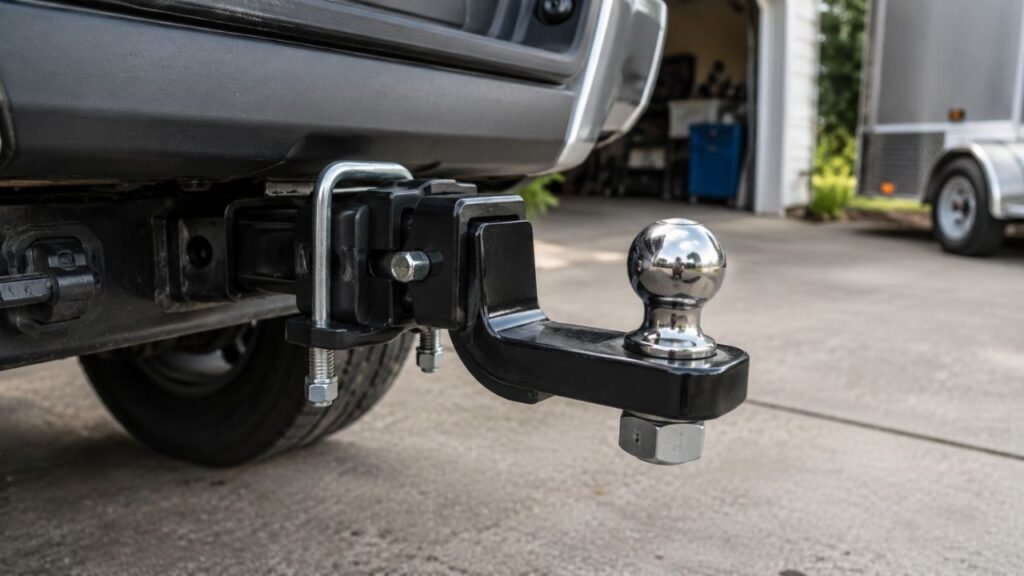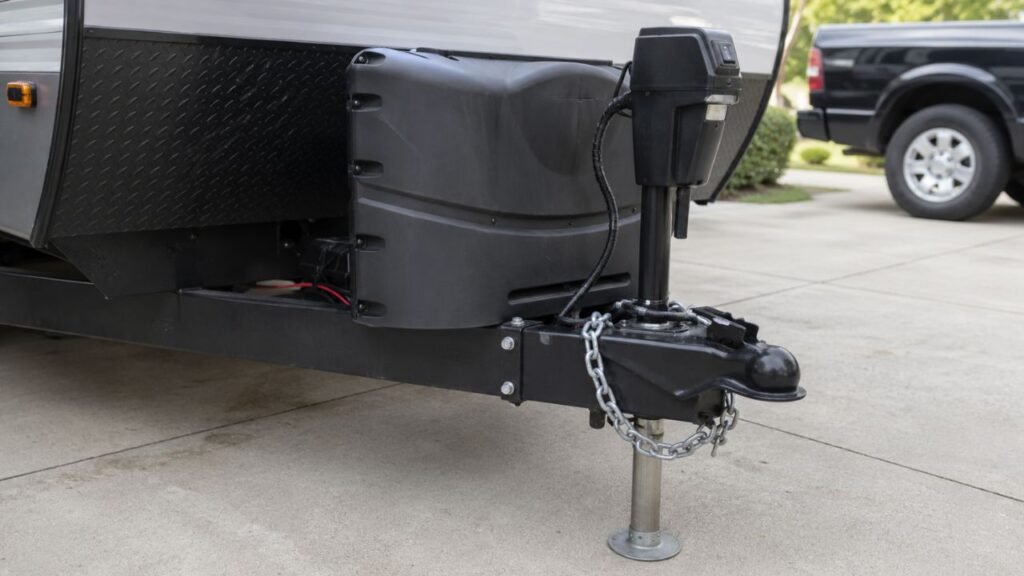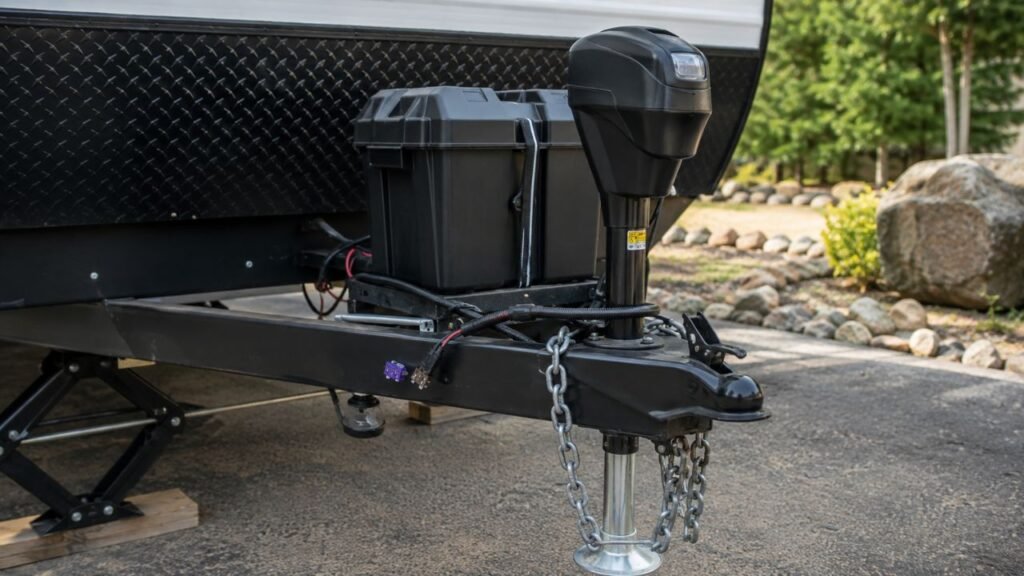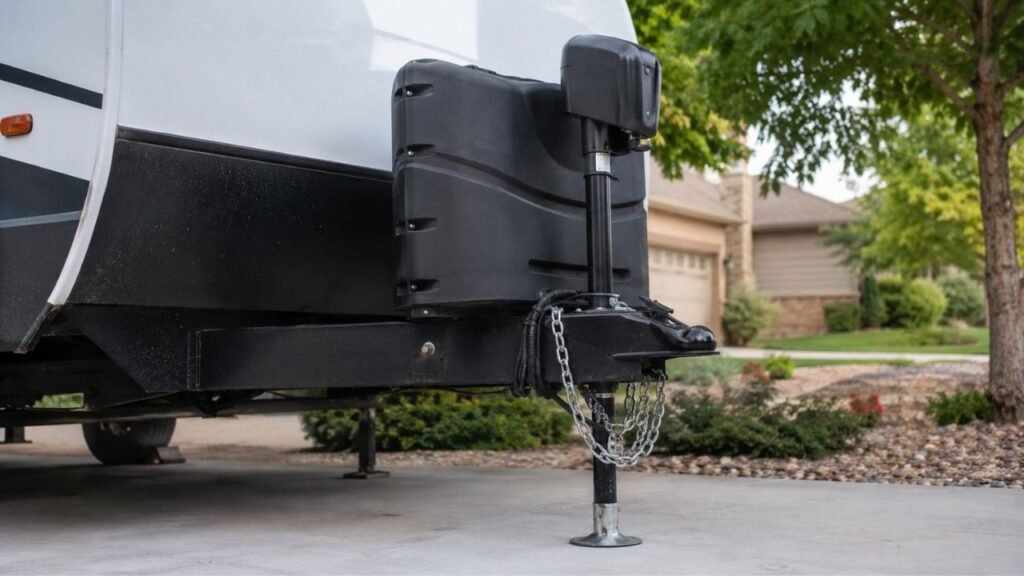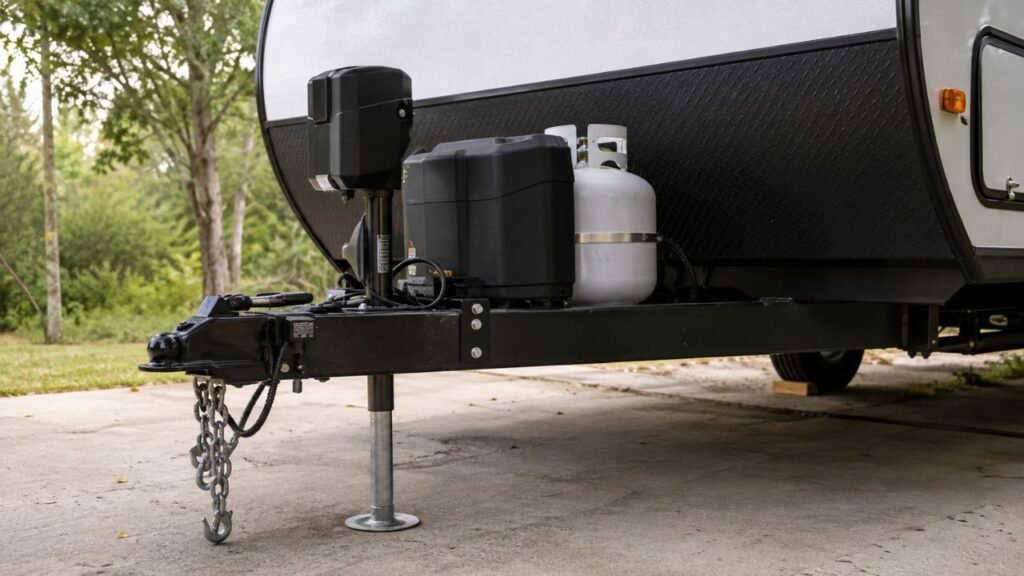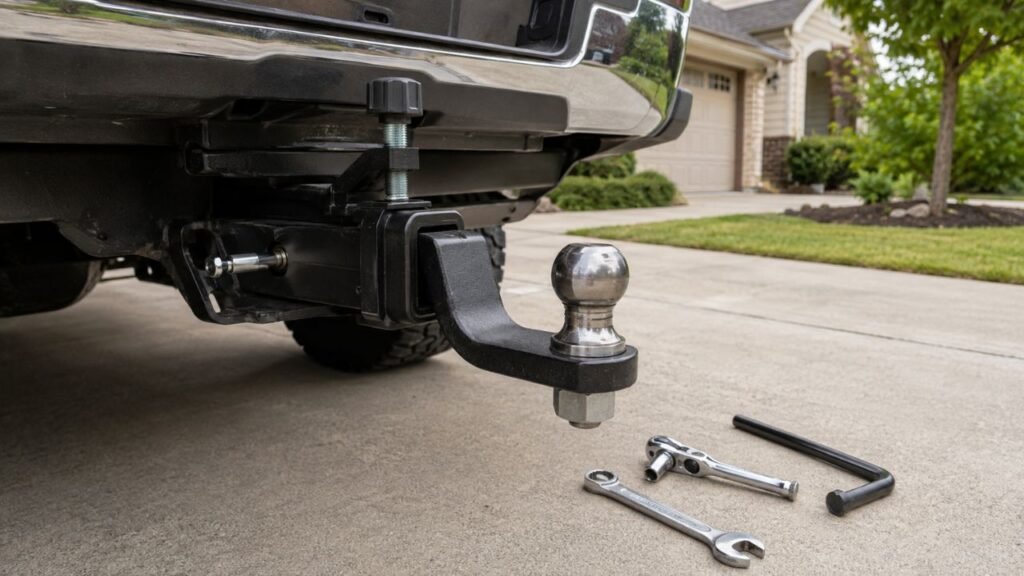
An anti-rattle hitch clamp should be tight enough to eliminate unwanted movement between the hitch shank and receiver without damaging the hardware. There is no universal torque setting for every clamp. Some hitch stabilizers specify around 23 ft-lbs, while other anti-rattle devices may require different torque values.
If your clamp does not list a torque specification, don’t simply tighten it as hard as possible. Below, I’ll show you how to find the right tightness, tighten a U-bolt clamp correctly, recognize over-tightening, and troubleshoot a hitch that still moves.
Key Takeaways
- Always follow the clamp manufacturer’s torque specification first.
- There is no universal torque setting for every anti-rattle device.
- Tighten both sides of a U-bolt clamp gradually and evenly.
- Stop once unwanted hitch movement has been eliminated.
- Never keep tightening simply because some movement remains elsewhere.
- Inspect the clamp periodically, especially after rough-road towing.
How Tight Should an Anti-Rattle Hitch Clamp Actually Be?
The correct tightness depends on the particular anti-rattle device you’re using. The manufacturer’s specification should always take priority over general torque recommendations you see online.
| Anti-Rattle Setup | Typical Tightening Approach | What You Should Do |
| U-bolt hitch tightener with torque specification | Tighten to stated torque | Use a torque wrench |
| U-bolt clamp without stated torque | Tighten evenly until hitch play stops | Avoid excessive force |
| Hitch immobilizer | Follow device-specific torque | Check installation instructions |
| Threaded anti-rattle pin | Torque bolt to manufacturer specification | Don’t use clamp torque values |
| Lever-style clamp | Adjust until securely locked | Torque wrench may not apply |
Some hitch immobilizers specify around 23 ft-lbs, while certain threaded anti-rattle systems may call for approximately 35 ft-lbs. That difference is exactly why I would not recommend treating 35 or 40 ft-lbs as a universal rule.
If your particular clamp gives you a torque number, use it. If it only says to tighten until snug, gradually tighten the hardware until the receiver-to-shank movement is controlled.
You are trying to remove unnecessary clearance, not crush the hitch components together.
Why Isn’t There One Torque Specification for Every Hitch Tightener?
Anti-rattle devices may look simple, but their hardware, materials, and tightening methods vary considerably. That’s why one torque recommendation cannot safely cover every hitch tightener.
Clamp Hardware and Bolt Size Vary
A small U-bolt does not necessarily tolerate the same torque as a larger threaded anti-rattle bolt.
Bolt diameter, thread pitch, nut design, washer type, and material strength all affect how much tightening force the hardware can safely handle.
That is why borrowing the torque specification from another brand can be risky.
Anti-Rattle Devices Work Differently
Not every anti-rattle system applies pressure in the same way.
Common designs include:
- U-bolt hitch clamps
- Two-bolt hitch immobilizers
- Threaded anti-rattle hitch pins
- Internal expanding mechanisms
- Lever-operated hitch clamps
A threaded pin pulls the hitch accessory against one side of the receiver. A U-bolt clamp usually presses the shank and receiver together from another direction.
The required tightening force can therefore be completely different.
Receiver and Accessory Fit Also Varies
One ball mount may slide into your receiver almost perfectly, while another has noticeably more clearance.
A looser fit might require the clamp to travel farther before movement disappears, but that does not mean the fasteners should be torqued beyond their intended limits.
If excessive movement remains after proper tightening, inspect the hitch components instead of simply adding more force.
How to Tighten a U-Bolt Anti-Rattle Hitch Clamp Correctly
A U-bolt style tightener works best when the pressure is applied gradually and evenly. Rushing the installation can leave the plate crooked or one side unnecessarily tight.
- Insert the hitch accessory. Slide your ball mount, bike rack, or cargo carrier fully into the receiver.
- Install the hitch pin. Secure the accessory using the required hitch pin before installing the tightener unless your product specifies otherwise.
- Position the U-bolt. Place the U-bolt around the hitch shank or receiver in the position shown by the manufacturer.
- Install the tightening plate. Make sure the plate sits flat and square against the receiver.
- Hand-tighten both nuts. Get both sides started before using a wrench.
- Alternate between both nuts. Tighten one side slightly, then move to the other.
- Wiggle the hitch accessory. Push it side to side and vertically while gradually tightening the clamp.
- Stop when the unwanted play disappears. Don’t keep tightening simply because the wrench can still turn.
- Apply specified torque if provided. Use a torque wrench if your clamp lists an exact value.
- Secure locking hardware. Tighten jam nuts, lock washers, or other retaining hardware according to the instructions.
The important part is keeping the plate seated evenly. Tightening one nut completely before touching the other can pull the clamp sideways.
How Do You Know When the Hitch Clamp Is Tight Enough?
If your clamp doesn’t provide a torque specification, you need to judge the connection by how the hitch behaves. Fortunately, there are several practical signs that tell you when you’re close.
The Hitch Accessory No Longer Clunks in the Receiver
Grab the ball mount or hitch accessory and try moving it vertically and side to side.
The noticeable metal-on-metal clunking should disappear or become significantly reduced.
Don’t expect every component behind the vehicle to become completely motionless. You’re only trying to control movement where the shank enters the receiver.
The Clamp Plate Sits Firmly and Evenly
Look at the tightening plate.
It should sit securely against the receiver without appearing twisted or pulled heavily toward one side.
If one U-bolt leg has significantly more exposed thread than the other, check whether the clamp is positioned correctly.
The Nuts Stay Secure
After installation, take a short drive and inspect the clamp again.
If the nuts have noticeably backed off, the clamp may not have been tightened enough, or the locking hardware may not be working correctly.
The Hardware Is Not Being Forced or Deformed
This is where many people go too far.
A hitch tightener should remove clearance. You should not need to visibly bend the receiver, crush the plate, or distort the U-bolt to make the hitch feel solid.
If you reach that point, something else may be causing the movement.
What Happens If an Anti-Rattle Hitch Clamp Is Too Loose?
A loose clamp usually becomes obvious fairly quickly because the hitch starts behaving almost exactly like it did before you installed the tightener.
Common signs include:
- Ball mount still moves vertically.
- Side-to-side wobble remains.
- Clunking returns over bumps.
- The clamp plate shifts position.
- Nuts start backing off.
- Shiny rubbing marks appear around contact points.
- Hitch-mounted accessories continue bouncing excessively.
If this happens, inspect the clamp position first.
Sometimes the problem isn’t insufficient torque. The clamp may simply be installed in the wrong orientation or may not be contacting the receiver correctly.
Can You Overtighten an Anti-Rattle Hitch Clamp?
Yes. An anti-rattle clamp can definitely be overtightened.
More torque does not automatically make your hitch safer. Once the clamp has removed the unwanted receiver play, additional tightening mainly increases stress on the fasteners and the parts being clamped.
Excessive tightening may damage threads, deform washers, stretch a U-bolt, distort the tightening plate, or make the hardware extremely difficult to remove later.
In extreme cases, applying too much force to lightweight hardware could damage the clamp itself.
That’s another reason I prefer a torque wrench whenever the manufacturer supplies an exact specification.
Think of the goal as secure, not maximum tightness.
Signs You May Have Overtightened the Hitch Tightener
Over-tightening is not always obvious immediately. Check the clamp and surrounding hardware for these warning signs:
- Flattened or damaged threads
- Nuts that bind during removal
- Distorted clamp plate
- Bent U-bolt
- Crushed or deeply marked washers
- Visible receiver indentation
- Fastener turning without increasing resistance
- Hardware that becomes unusually difficult to loosen
If you notice damaged threads or bent hardware, replace the affected parts rather than continuing to reuse them.
Should You Use a Torque Wrench on an Anti-Rattle Hitch Clamp?
If your anti-rattle device provides a specific torque value, yes, I recommend using a torque wrench.
A torque wrench removes much of the guesswork. It also helps prevent a common situation where someone tightens the clamp until it “feels strong enough” and accidentally exceeds the hardware’s intended load.
For a clamp that provides only a snug-tight instruction, you may not need one.
In that situation, tighten the fasteners evenly with a normal wrench while checking hitch movement between adjustments.
Don’t make up your own torque number simply because you have a torque wrench available.
Should You Tighten Both U-Bolt Nuts the Same Amount?
You should tighten both U-bolt nuts gradually and as evenly as practical.
I normally recommend alternating from one nut to the other rather than tightening one side completely.
For example, give the left nut a small turn, then give the right nut a similar turn. Continue until the plate pulls firmly against the receiver.
However, don’t become overly concerned about having exactly the same number of exposed threads on both sides.
Small differences can occur because of receiver shape, plate position, and manufacturing tolerances.
What matters is that the plate sits squarely and both fasteners are securely tightened.
Can You Tighten a Hitch Clamp With an Impact Wrench?
I generally wouldn’t use an impact wrench to tighten a typical anti-rattle hitch clamp.
An impact wrench can apply a lot of torque very quickly. On relatively small U-bolt hardware, it becomes easy to overshoot the required tightness before you realize it.
A normal ratchet, box wrench, or torque wrench gives you much better control.
If the manufacturer provides an exact torque specification, tighten the clamp gradually and finish with a torque wrench.
Using an impact just because it’s faster isn’t worth damaging a $20 clamp or creating problems with your receiver.
Does Towing Require the Clamp to Be Tighter Than a Bike Rack or Cargo Carrier?
The load attached to the hitch changes how much movement you may notice, but it does not give you permission to exceed the anti-rattle device’s tightening specifications.
Ball Mounts and Towing
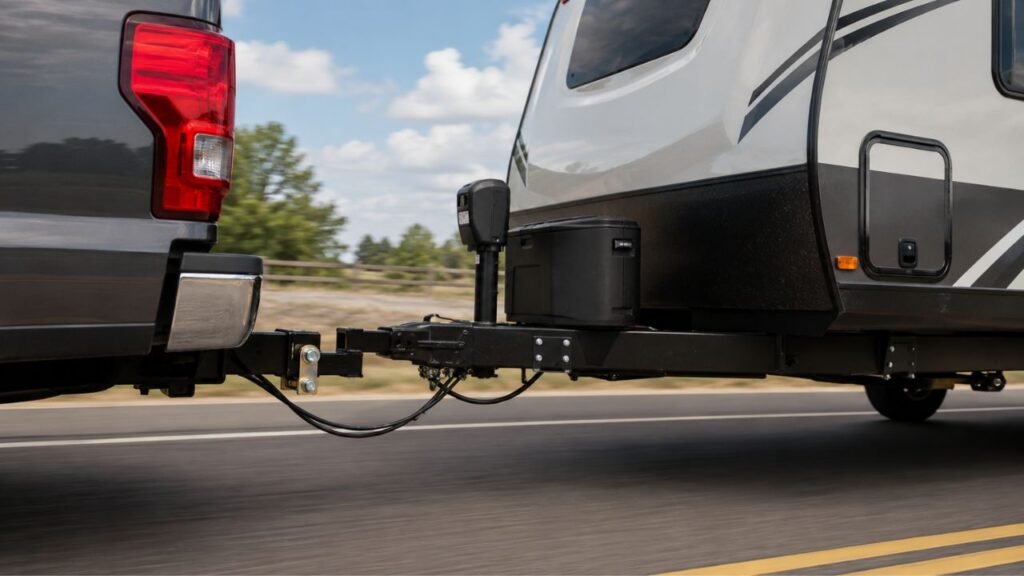
When towing a trailer, the ball mount experiences frequent changes in load as you accelerate, brake, turn, and travel over uneven pavement.
That makes a secure receiver connection useful, but the clamp should still be tightened according to its design.
A heavier trailer does not mean you should simply add more torque.
Bike Racks and Cargo Carriers
Bike racks and cargo carriers can create noticeable leverage because their weight sits farther behind the receiver.
That leverage often makes small amounts of receiver clearance feel much worse.
An anti-rattle clamp can reduce that motion, but the same rule applies: tighten until the unwanted play is controlled without overloading the hardware.
An Anti-Rattle Clamp Does Not Increase Hitch Capacity
This is something I want to make especially clear.
An anti-rattle clamp does not increase your:
- Receiver capacity
- Ball mount capacity
- Tongue weight rating
- Trailer weight rating
- Cargo carrier rating
It also does not replace a required hitch pin unless the particular anti-rattle device is specifically designed to serve that purpose.
Think of the clamp as a stabilizer, not a structural capacity upgrade.
How Often Should You Check an Anti-Rattle Hitch Clamp?
Road vibration, weather, dirt, and repeated hitch use can affect clamp hardware over time. You don’t need to obsess over it, but regular inspection is worthwhile.
Check the clamp:
- After initial installation
- After your first trip with it installed
- Before longer towing trips
- After traveling over unusually rough roads
- After removing and reinstalling your hitch accessory
- Whenever hitch rattle returns
- Whenever the manufacturer recommends inspection
I would also look for corrosion, damaged threads, bent hardware, or missing lock washers while you’re checking it.
Why Does My Hitch Still Move After the Clamp Is Tight?
If you’ve tightened the clamp properly and your hitch still moves, don’t immediately reach for a longer wrench. The movement may be coming from another part of the towing setup.
The Clamp Is Positioned Incorrectly
A hitch tightener only works when it applies force in the intended direction.
If the plate sits too far from the receiver opening or the U-bolt is positioned incorrectly, tightening the nuts may not effectively control the shank.
Recheck the installation orientation.
The Ball Mount or Receiver Is Excessively Worn
Normal clearance is one thing. Severe wear is another.
An elongated hitch pin hole, badly worn shank, damaged receiver tube, or excessive corrosion can create movement that a clamp should not be expected to correct.
If you see obvious wear, inspect or replace the affected component.
The Movement Is Coming From Somewhere Else
A surprising amount of “hitch rattle” isn’t actually coming from the receiver-to-shank connection.
Check areas such as:
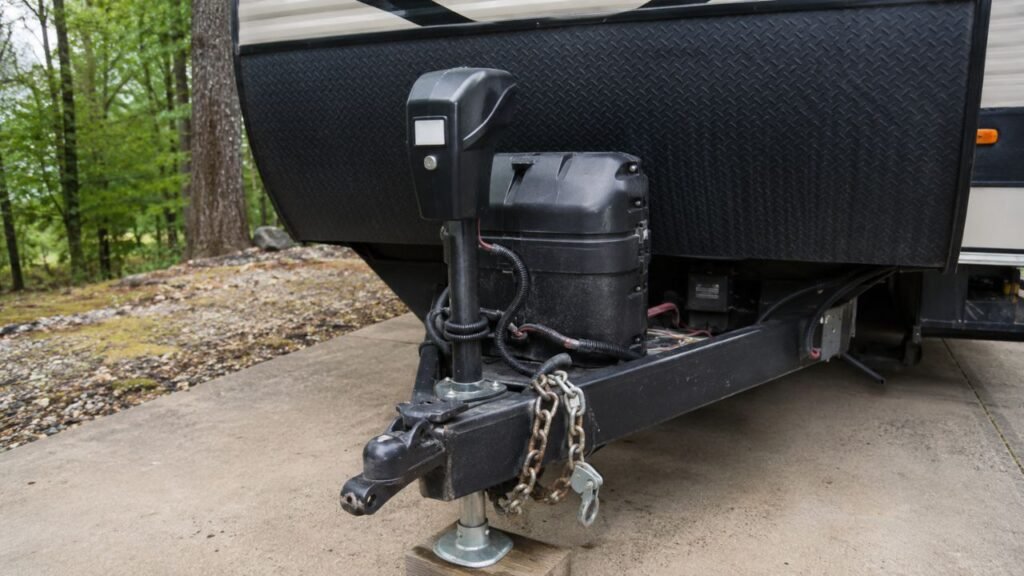
- Trailer coupler
- Hitch ball
- Adjustable ball mount
- Hitch adapter
- Weight distribution hitch components
- Bike rack pivots
- Cargo carrier joints
- Trailer suspension
You may tighten the receiver clamp perfectly and still hear noise from another connection.
The Clamp Hardware Keeps Loosening
If the clamp works temporarily but loosens again, inspect the nuts, washers, locking hardware, and threads.
Damaged threads or missing lock washers can prevent the clamp from staying secure.
Don’t solve constantly loosening hardware by simply applying more torque every time.
The Receiver and Shank Have Excessive Clearance
A small amount of manufacturing clearance is normal.
However, if the shank is dramatically smaller than the receiver opening or an adapter introduces excessive play, the clamp may struggle to stabilize everything.
In that situation, check component compatibility before adding more tightening force.
Common Anti-Rattle Hitch Clamp Tightening Mistakes
Most hitch tightener problems come from a few simple mistakes. Avoid these and you’ll usually get much better results:
- Assuming every clamp requires 35 to 40 ft-lbs
- Tightening one U-bolt nut completely first
- Using an impact wrench without torque control
- Installing the clamp backward
- Forgetting supplied washers or jam nuts
- Ignoring the manufacturer’s torque specification
- Trying to compensate for receiver wear with more torque
- Confusing hitch-pin torque with clamp torque
- Continuing to tighten after hitch play has stopped
- Assuming tighter always means safer
The last mistake is probably the biggest one.
Your hitch clamp only needs enough force to do its job.
Final Words
So, how tight should an anti-rattle hitch clamp be? Tighten it according to the manufacturer’s specified torque whenever one is provided. Depending on the device, that specification may be quite different from the commonly repeated 35 to 40 ft-lb range.
If your U-bolt clamp does not provide an exact torque specification, tighten both nuts evenly until the unwanted receiver-to-shank movement disappears. Once the connection is stable, stop tightening.
If significant movement remains after the clamp is properly installed, inspect the rest of the hitch setup instead of forcing the clamp tighter.
Related FAQs
Is 35 Ft-Lbs Tight Enough for an Anti-Rattle Hitch Clamp?
It can be for some anti-rattle devices, but 35 ft-lbs is not a universal specification. Some clamps and hitch immobilizers require less torque, so always check the instructions for your exact model.
Is 40 Ft-Lbs Too Tight for a Hitch Tightener?
Forty ft-lbs may be acceptable for certain hardware but excessive for others. If your manufacturer specifies a lower torque, exceeding it can damage threads or distort the clamp.
How Tight Should a U-Bolt Hitch Tightener Be?
A U-bolt hitch tightener should be tightened evenly until unwanted receiver movement is eliminated. If the manufacturer provides a torque specification, use that value instead of tightening by feel.
Should an Anti-Rattle Clamp Completely Stop Hitch Movement?
It should significantly reduce or eliminate movement between the hitch shank and receiver. However, movement from the trailer coupler, adjustable ball mount, rack joints, or other components may remain.
Can You Overtighten a Hitch Stabilizer?
Yes. Excessive tightening can damage nuts, threads, washers, the U-bolt, tightening plate, or surrounding components. Stop once the clamp is securely installed and the unwanted play is controlled.
Do Anti-Rattle Hitch Clamps Come Loose?
They can loosen from vibration, improper installation, damaged threads, or missing locking hardware. Inspect the clamp periodically and retighten it according to the manufacturer’s instructions when necessary.
Do I Need a Torque Wrench for a Hitch Tightener?
You should use a torque wrench whenever the manufacturer provides a specific torque value. If the instructions only require a snug fit, a regular wrench may be sufficient.
Should I Retighten My Anti-Rattle Clamp After Driving?
It is a good idea to inspect the clamp after initial use and periodically afterward. If the hardware has loosened, retighten it according to the manufacturer’s recommendations.
Can an Anti-Rattle Clamp Damage a Hitch Receiver?
A compatible clamp installed correctly should not normally damage a receiver. Problems are more likely when the clamp is overtightened, installed incorrectly, or used with incompatible or damaged hitch components.
Why Is My Hitch Still Rattling With the Clamp Tight?
The noise may be coming from somewhere other than the receiver connection. Check the coupler, hitch ball, adjustable ball mount, adapters, rack joints, cargo carrier, and other towing components for movement.

Ryan Mitchell writes for readers who prefer independent travel and practical outdoor motorhome living. His how-to guides and reviews focus on simplicity, durability, and real value. He brings a calm, hands-on perspective to every topic.