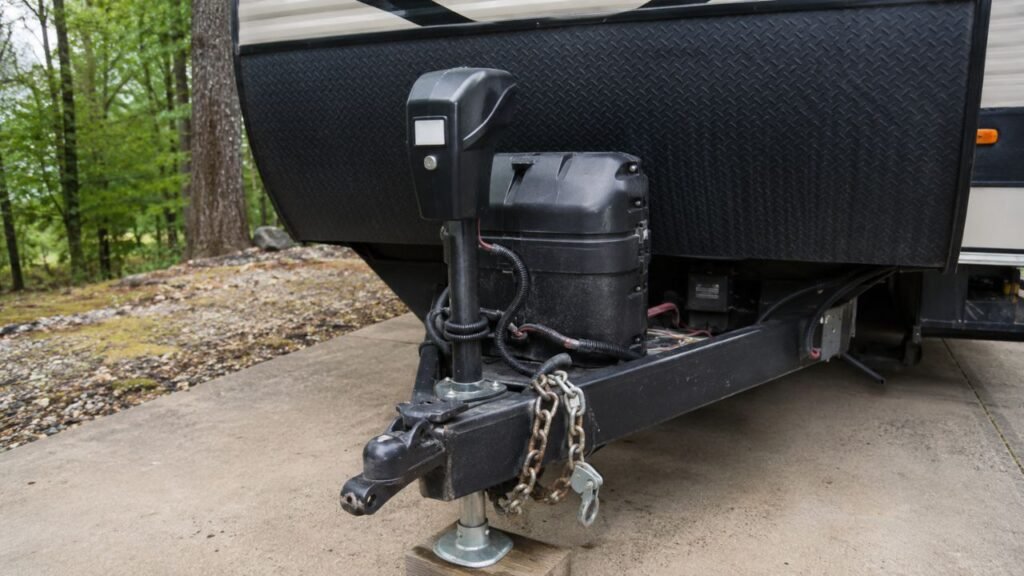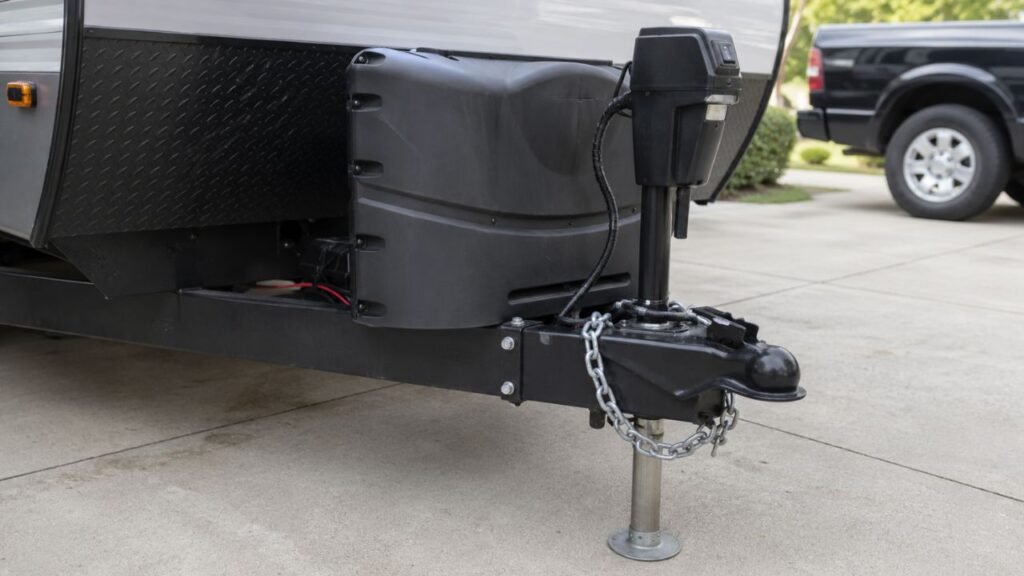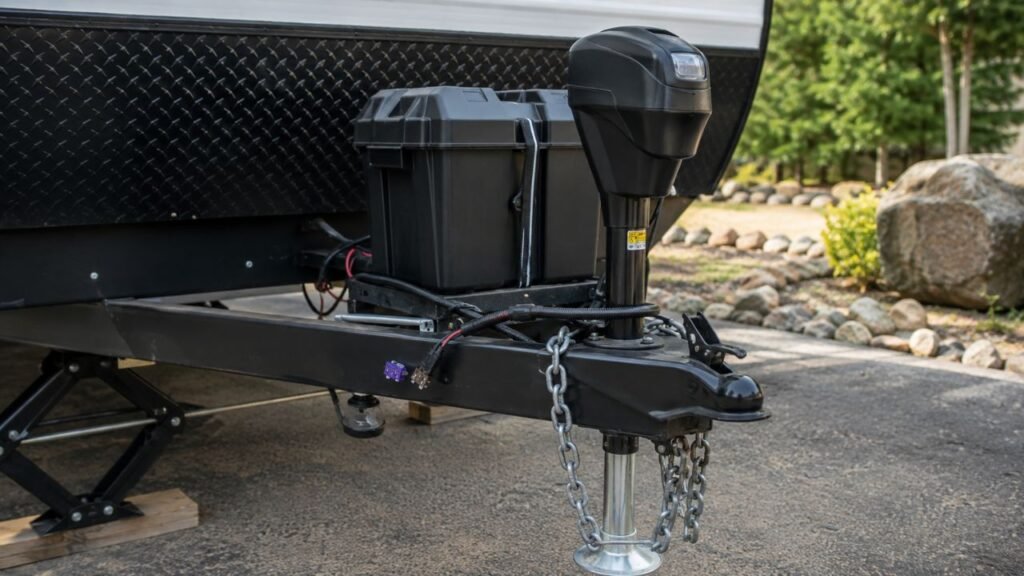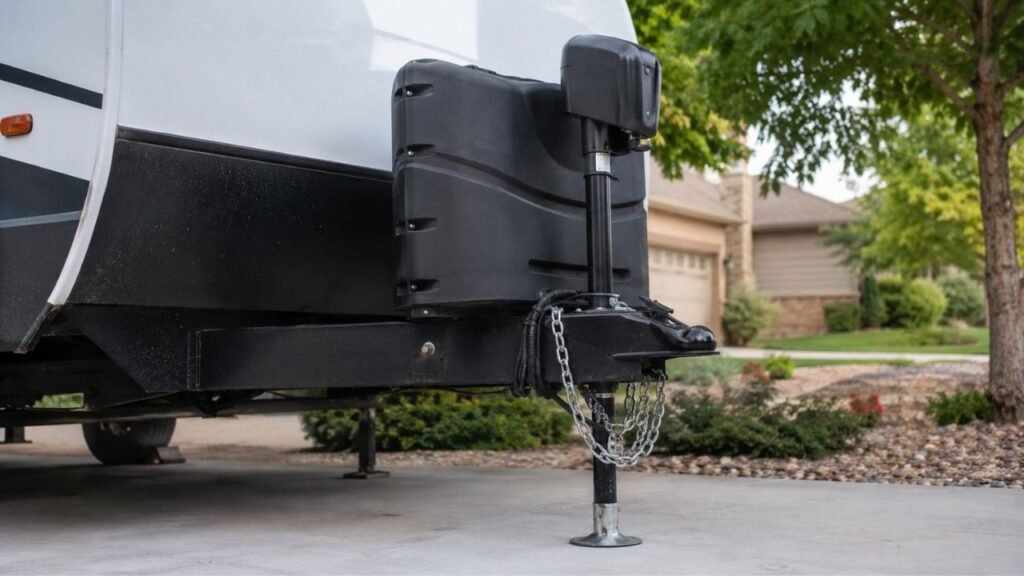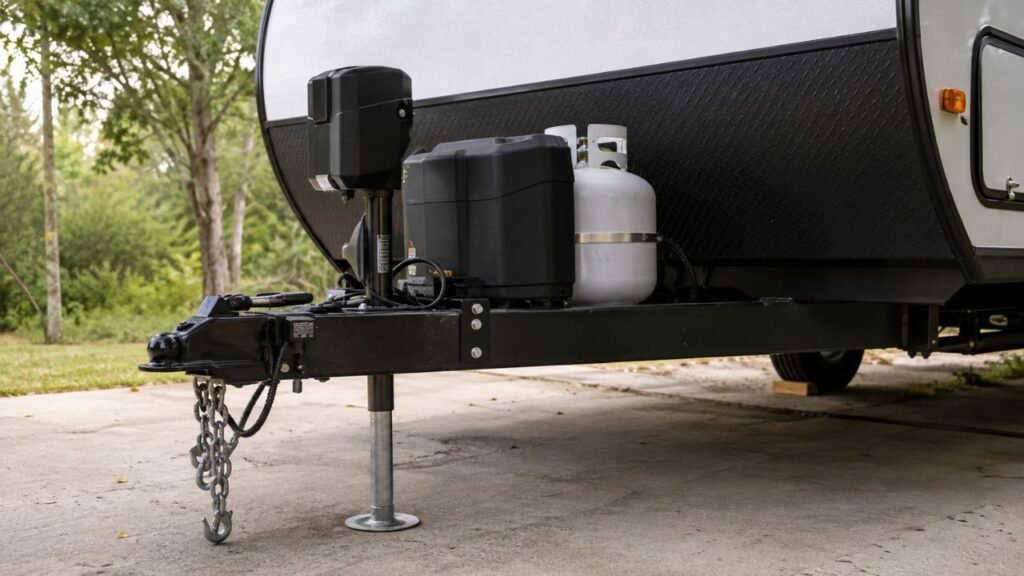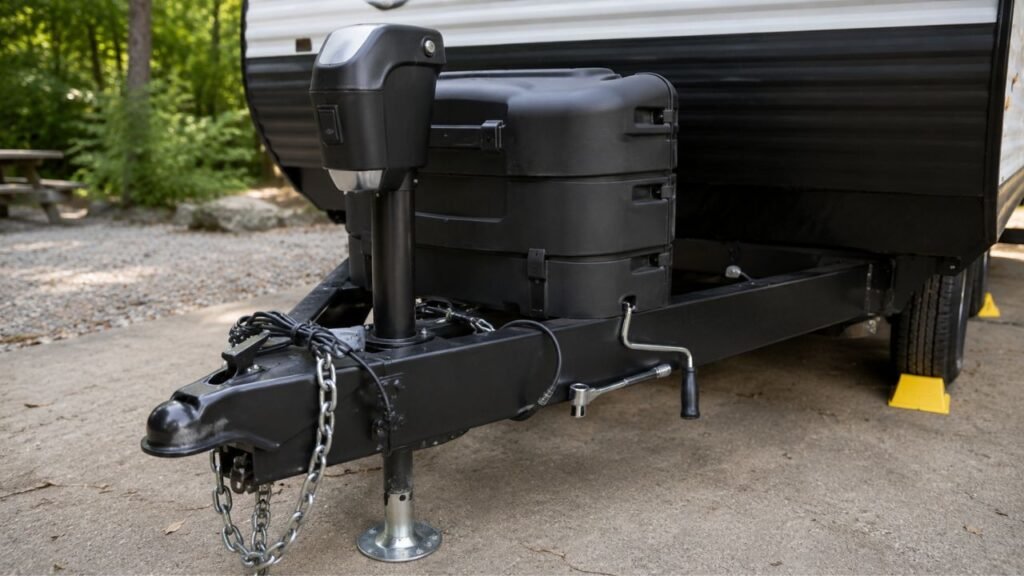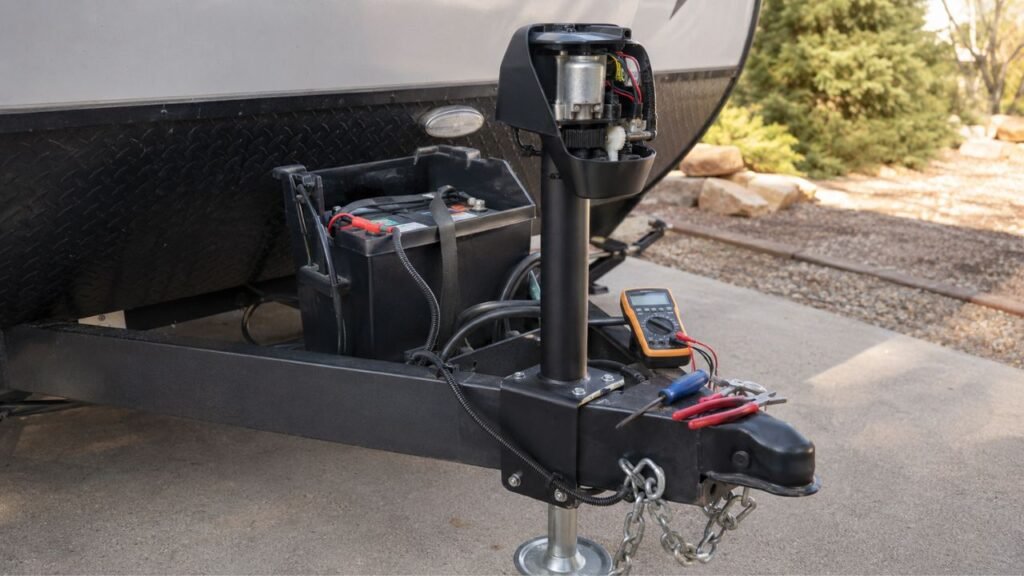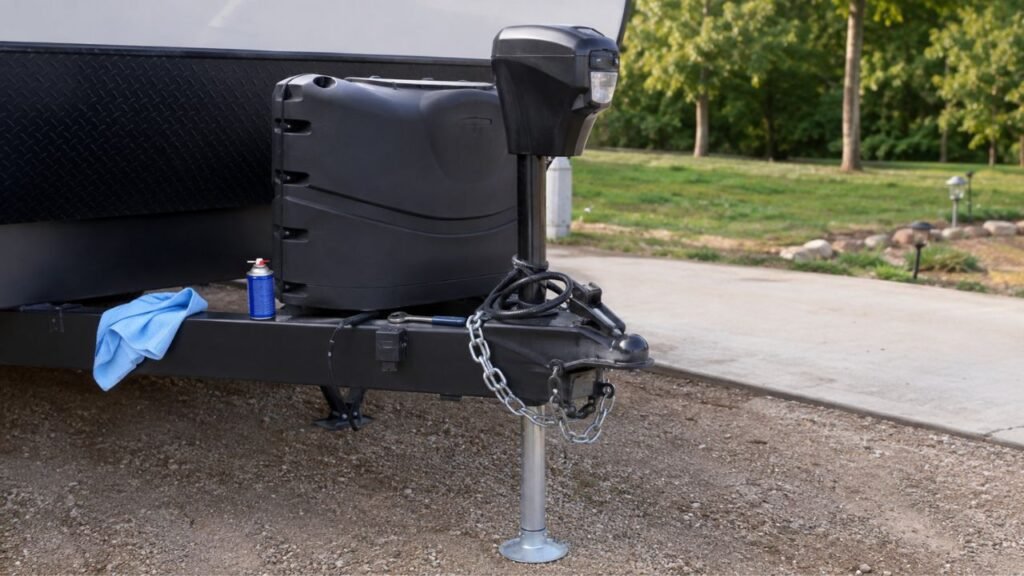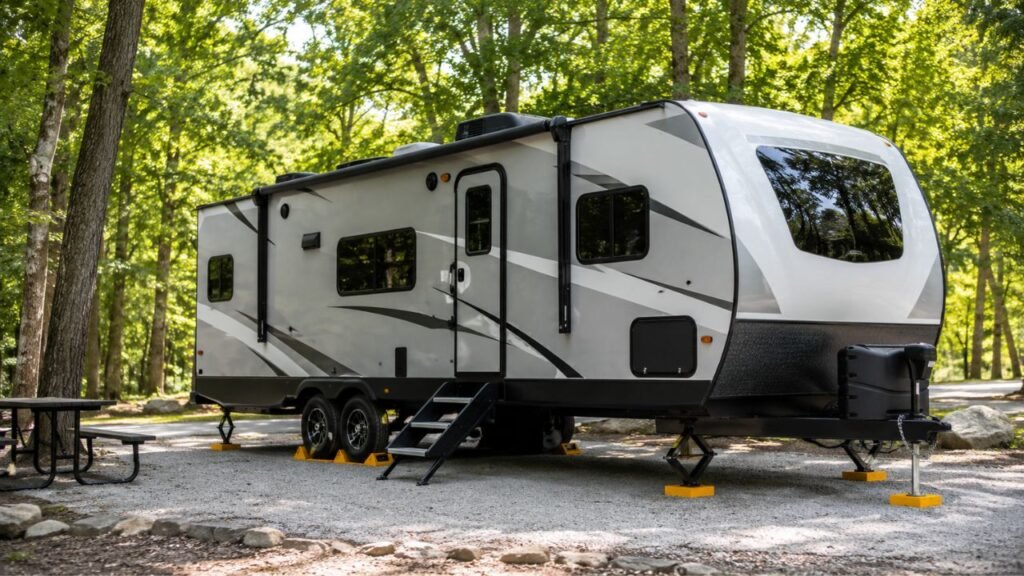
To level and stabilize an RV, first correct the side-to-side lean using leveling blocks or your approved leveling system. Next, secure the wheels, level the RV front-to-back, and place solid pads beneath the stabilizer feet. Finally, lower the stabilizer jacks until they are firmly snug without using them to lift the RV.
The exact process changes slightly between travel trailers, fifth wheels, and motorhomes. Below, I’ll walk you through the complete setup and help you avoid the mistakes that often cause rocking, sinking, or an uneven campsite setup.
Key Takeaways
- Leveling and stabilizing an RV are two different jobs.
- Level a towable side-to-side before disconnecting your tow vehicle.
- Chock the wheels securely before you unhitch the trailer.
- Use the tongue jack or landing gear for front-to-back leveling.
- Stabilizer jacks normally reduce movement instead of lifting the RV.
- Use solid pads beneath jacks when parking on softer surfaces.
- Keep stabilizers reasonably short for better support and less movement.
- Follow your RV manual when using an automatic leveling system.
What Is the Difference Between Leveling and Stabilizing an RV?
Leveling changes the RV’s position so the floor sits reasonably flat. Stabilizing happens afterward and reduces the rocking you feel when people move inside.
| Setup Task | Main Purpose | Typical Equipment | Changes RV Height? | When You Do It |
| Leveling | Correct the RV’s angle | Leveling blocks, landing gear, leveling jacks | Yes | First |
| Wheel securing | Prevent rolling | Wheel chocks | No | Before unhitching |
| Stabilizing | Reduce shaking and rocking | Stabilizer jacks and pads | Normally no | After leveling |
| Extra stabilization | Reduce remaining movement | Braces or tandem-wheel stabilizers | No | Optional final step |
This distinction matters more than it might seem.
A stabilizer jack may look similar to a leveling jack. However, that does not automatically mean it can support lifting loads.
Many travel trailers have lightweight stabilizer jacks near the corners. Their job is to limit frame movement once the trailer is level.
A true leveling jack is designed differently. It may raise part of the RV as part of the leveling process.
When in doubt, check how your RV manufacturer describes the installed jack.
What Do You Need to Level and Stabilize an RV?
You do not need a complicated collection of equipment. A few dependable campsite tools can make setup much easier and safer.
- Bubble level or digital RV level
- Stackable RV leveling blocks or leveling ramps
- Heavy-duty wheel chocks
- Jack pads or stabilizer blocks
- Tongue jack crank when applicable
- Stabilizer jack crank or approved drill attachment
- Work gloves for gravel or muddy campsites
- Flashlight for evening campsite setups
You may also use a wireless RV leveling sensor.
It can show the RV’s angle from your phone. That saves you from repeatedly walking between the cab and trailer.
However, a basic bubble level can still do the job well.
How Do You Level and Stabilize an RV Step by Step?
The easiest approach is to follow the same setup order every time. For most towable RVs, you level side-to-side first, secure the wheels, unhitch, level front-to-back, and stabilize last.
Step 1: Choose the Best Position on the Campsite
Before putting any blocks down, take a good look around.
Try to park on the flattest and firmest portion available.
A small change in parking position can save several inches of blocking.
Also check for:
- Deep holes
- Loose gravel
- Soft mud
- Large tree roots
- Steep campsite slopes
- Standing water
- Poor drainage
- Slide-out obstacles
- Trees near your awning
- Utility connection locations
I would rather reposition an RV once than build a tall platform under one side.
You also want enough clearance for the slide-outs, stairs, awning, and hookups.
Step 2: Check Which Direction the RV Is Leaning
Check the RV from both directions.
First, measure the side-to-side angle.
Then check the front-to-back angle.
You can place a bubble level on a known flat surface inside. A floor section, countertop, or mounted RV level often works well.
Just remember that not every countertop is perfectly level relative to the frame.
If you frequently use the same RV, a permanently mounted level makes setup faster.
You are mainly trying to determine two things:
- Which side is low?
- Is the front too high or too low?
Do not worry about achieving laboratory-level perfection.
The RV simply needs to sit comfortably within its operating requirements.
Step 3: Level the RV Side-to-Side
For most manually leveled travel trailers and fifth wheels, handle side-to-side leveling while the trailer is still connected to your tow vehicle.
Check which side is lower.
Place the required leveling blocks or ramp near those tires.
Then slowly pull forward or reverse onto the blocks.
Stop and check the level again.
You may need to reposition the trailer once or twice.
That is completely normal.
For a tandem-axle trailer, support the appropriate low-side tires correctly. Avoid creating a setup where one tire receives poor support.
Make sure each tire sits securely on the leveling surface.
If you need an unusually tall stack of blocks, consider repositioning.
The flatter part of the campsite is usually the better choice.
Step 4: Chock the Wheels Before Unhitching
Once your side-to-side level is correct, secure the trailer.
This is the point where wheel chocks become especially important.
Put your tow vehicle in Park and set its parking brake.
Then place sturdy wheel chocks firmly against the trailer tires.
Depending on your setup, you may chock the front and back.
Do not disconnect the trailer until you are confident it cannot roll.
This is particularly important on sloped campsites.
Tandem-wheel stabilizers can reduce tire movement between axles. However, I would not automatically treat them as replacements for proper parking chocks.
Their primary purpose is usually movement reduction.
Step 5: Unhitch and Level Front-to-Back
Now you can disconnect the trailer.
For a travel trailer, use the tongue jack.
Raise or lower the front until the trailer becomes level front-to-back.
For a fifth wheel, use the front landing gear.
Again, check your bubble level as you adjust.
Make small corrections rather than repeatedly moving too far in either direction.
Once the RV looks level, walk inside.
You will often notice a significant slope before any tool confirms it.
Doors swinging strongly on their own can also indicate a noticeable lean.
Step 6: Place Pads Beneath the Stabilizer Jacks
Before lowering your stabilizers, give them a firm surface.
Jack pads are especially helpful on:
- Grass
- Dirt
- Loose gravel
- Soft campsites
- Warm asphalt
Pads spread the pressure across a larger area.
That helps prevent the stabilizer feet from sinking.
They also reduce how far the stabilizers must extend.
That shorter extension can often improve stability.
You do not necessarily need a huge stack.
Use enough support to create a firm, safe contact point.
Step 7: Lower the Stabilizer Jacks Until Snug
Now lower each stabilizer jack.
Bring the foot down until it touches the pad.
Continue only until the jack feels firmly snug.
You are trying to remove movement, not raise the trailer.
If you keep cranking until one corner visibly lifts, you may be putting unnecessary stress on the RV.
Powered stabilizers can also be damaged by excessive force.
Firm contact is usually the goal.
If your RV uses true weight-bearing leveling jacks, follow that system’s operating procedure instead.
Step 8: Extend the Slides and Recheck Everything
Once the RV is properly leveled and stabilized, extend the slides according to your owner’s manual.
Then walk through the RV again.
Pay attention to:
- Floor slope
- Door movement
- Excessive shaking
- Stabilizer contact
- Jack pads sinking
- Blocks shifting
- Tire position
A large slide can slightly change weight distribution.
That does not always mean something is wrong.
However, if the RV noticeably changes position, inspect your setup again.
Do not simply tighten one stabilizer aggressively to compensate.
Find out what actually moved.
How Does RV Leveling Change for Different Types of RVs?
The basic goal stays the same, but the equipment can differ significantly. Here is the easiest way to separate the common RV setups.
| RV Type | Side-to-Side Leveling | Front-to-Back Leveling | Stabilization |
| Travel trailer | Blocks or ramps beneath low-side tires | Tongue jack | Corner stabilizer jacks |
| Fifth wheel | Blocks or approved leveling system | Landing gear or leveling system | Rear stabilizers or integrated system |
| Motorhome without leveling jacks | Leveling blocks beneath tires | Blocks as needed | Separate stabilizers if equipped |
| Motorhome with leveling jacks | Hydraulic or electric leveling jacks | Same leveling system | Often handled by the system |
| RV with auto-leveling | Automatic approved system | Automatic approved system | Depends on installed equipment |
The most important lesson here is simple.
Do not assume every RV jack performs the same job.
A travel trailer’s small corner stabilizer and a motorhome’s hydraulic leveling jack may look related.
They are designed for very different loads.
How Do You Level an RV With an Automatic Leveling System?
Automatic leveling makes campsite setup easier, but good positioning still matters. Give the system a reasonable starting point and follow the operating sequence designed for your RV.
Park as Close to Level as Reasonably Possible
Auto-level does not mean you should ignore a badly sloped campsite.
Try to position the RV reasonably close to level first.
Doing so can reduce jack extension and prevent out-of-range errors.
Look beneath every jack location.
Avoid large holes, unstable gravel, or soft ground when possible.
Place Jack Pads Where Needed
Put suitable pads beneath the leveling feet when the surface requires them.
Pads help distribute weight.
They can also prevent metal feet from sinking into grass or warm pavement.
Make sure every pad sits flat.
A badly tilted pad can shift when the jack starts carrying weight.
Run the Approved Auto-Level Sequence
Use the control panel exactly as the system manufacturer recommends.
Different RVs may use different electric or hydraulic procedures.
That is why I would not assume one button sequence works universally.
Some systems also require:
- Parking brake engagement
- Ignition in a certain position
- Slides retracted
- Adequate battery voltage
Follow the procedure listed for your specific RV.
What If Auto-Level Cannot Level the RV?
Do not immediately force the system through repeated cycles.
First inspect your campsite.
The RV may simply be parked beyond the system’s useful leveling range.
Common reasons include:
- Excessively sloped ground
- Jack reaching maximum extension
- Jack pad sinking
- Low battery voltage
- Uneven jack contact
- Obstruction beneath a jack
Moving the RV a few feet may solve the problem faster.
How Tight Should RV Stabilizer Jacks Be?
Stabilizer jacks should generally be firm enough to reduce movement without lifting the RV.
Once the stabilizer foot touches its pad, apply moderate pressure.
You want solid contact.
You do not want to force the frame upward.
More pressure does not always create better stabilization.
Excessive tightening can stress:
- Stabilizer mounts
- Jack mechanisms
- Frame attachment points
- Powered stabilizer motors
If the RV continues shaking even with snug stabilizers, look for the actual source.
Long jack extension, tire movement, and flexible framing may be contributing more than jack pressure.
How Level Does an RV Actually Need to Be?
Your RV does not usually need the precision of a machine-shop surface.
It should be level enough for safe equipment operation and comfortable living.
A properly leveled RV should generally provide:
- Comfortable sleeping
- Normal door operation
- Proper water drainage
- Predictable slide operation
- Suitable appliance operation
- Comfortable walking inside
Refrigerator design matters here.
Traditional gas-absorption RV refrigerators can be sensitive to excessive off-level operation.
Other refrigerator designs may have different requirements.
Because of that, I recommend checking the refrigerator’s own operating manual.
Do not rely on one universal angle for every RV refrigerator.
Should You Level an RV Before Putting the Slides Out?
In most cases, yes.
Level and stabilize your RV before extending the slide-outs unless the manufacturer gives different instructions.
A slide-out adds significant weight beyond the main body.
It can change how the RV loads its suspension and jacks.
Proper leveling beforehand also reduces unnecessary twisting.
However, RV manufacturers sometimes specify their own sequence.
Your owner’s manual should always take priority.
Why Is My RV Still Shaking After I Level It?
An RV can be perfectly level and still feel shaky. That usually means the problem is stabilization rather than leveling.
Common causes include:
- Stabilizers are not contacting the ground evenly.
- Stabilizers are extended too far.
- Jack pads are sinking into soft ground.
- Tires still move slightly forward and backward.
- Tandem axles allow additional movement.
- The RV has a long, flexible frame.
- Wheel chocks are not firmly seated.
- A stabilizer mounting bolt is loose.
- One jack is carrying much more pressure.
- The campsite surface settled after setup.
This is where many RV owners make the wrong correction.
They keep tightening the stabilizers.
Instead, inspect the wheel movement and ground contact.
If every footstep still makes the RV shake, you likely need better stabilization rather than more leveling.
How Do You Stabilize an RV Better Without Over-Tightening the Jacks?
If the RV still moves after basic stabilization, start by reducing movement at its source. Better support usually works more effectively than simply applying more jack pressure.
- Use solid pads beneath every stabilizer.
- Keep stabilizer extension as short as practical.
- Seat your wheel chocks firmly.
- Use compatible tandem-wheel stabilizers if needed.
- Inspect stabilizer mounting hardware.
- Consider approved cross-bracing systems.
- Check for movement near the middle of longer trailers.
- Recheck support after rain or ground settling.
A long travel trailer may still flex slightly through the center.
Corner stabilizers cannot always eliminate every bit of movement.
That does not necessarily mean the stabilizers are defective.
How Do You Level an RV on Gravel, Grass, or Soft Ground?
The leveling steps remain similar, but ground conditions change how well blocks and jacks stay in position. Give extra attention to pad size and surface stability.
Leveling an RV on Gravel
Loose gravel can shift underneath leveling blocks.
Try to place your blocks on the firmest section available.
Remove larger loose rocks before positioning them.
After driving onto the blocks, check that they remain flat.
Do the same beneath your stabilizer pads.
If the gravel moves while you stabilize, reposition before adding more pressure.
Leveling an RV on Grass or Dirt
Grass can hide soft soil underneath.
That becomes especially noticeable after heavy rain.
Use wide jack pads to spread pressure.
Inspect the setup again after several hours if conditions are wet.
A stabilizer that looked fine during setup may slowly sink.
Leveling an RV on Asphalt
Asphalt can become surprisingly soft during hot summer weather.
Small metal jack feet concentrate a lot of pressure.
Use appropriately sized pads beneath them.
This protects the surface and reduces sinking.
Leveling an RV on Concrete
Concrete pads are usually the easiest campsite surface.
However, concrete pads can still slope for drainage.
Check the RV rather than assuming the pad is level.
You should still use wheel chocks.
What If the RV Becomes Unlevel Overnight?
If your RV changes position overnight, the ground likely moved more than the RV itself.
Common causes include soil compression, rain, shifting gravel, or sinking pads.
Do not immediately crank down one stabilizer harder.
First inspect the entire setup.
Check:
- Leveling blocks
- Tire position
- Jack pads
- Stabilizer feet
- Ground softness
- Wheel chocks
If the RV needs significant correction, reset the leveling system properly.
You may also need to retract slides first, depending on your RV.
After re-leveling, reset the stabilizers.
Common RV Leveling and Stabilizing Mistakes
Most campsite problems come from a few repeatable setup errors. Avoiding these mistakes can save you from damaged equipment and an uncomfortable stay.
- Using stabilizer jacks to lift the RV
- Unhitching before side-to-side leveling
- Forgetting to chock the wheels
- Removing wheel chocks too early
- Parking on an unnecessarily steep section
- Building unsafe stacks from random materials
- Letting jack feet sink into soft soil
- Extending stabilizers farther than necessary
- Over-tightening powered stabilizers
- Ignoring the manufacturer’s slide procedure
- Assuming every jack can carry leveling loads
- Allowing tires to sit poorly on leveling blocks
- Ignoring a shifting campsite after heavy rain
- Using an impact wrench when the jack maker prohibits it
- Continuing to operate a jack that grinds or binds
One of the biggest mistakes is treating every problem as a leveling problem.
If the floor is flat but the RV moves, work on stabilization.
If the RV leans, correct the level first.
A Simple RV Leveling and Stabilizing Routine to Remember
You do not need to memorize every detail on your first trip. Keep this simple order in mind and adapt it to your specific RV.
For most towable RVs:
- Park in the best campsite position.
- Check side-to-side level.
- Add leveling blocks where required.
- Drive onto the blocks.
- Recheck the level.
- Chock the wheels.
- Unhitch the trailer.
- Level front-to-back.
- Place pads beneath stabilizers.
- Lower stabilizers until snug.
- Extend slides as directed.
- Walk through and recheck everything.
For an RV with automatic leveling:
- Position the RV reasonably close to level.
- Secure the RV as required.
- Place jack pads where needed.
- Run the approved leveling sequence.
- Confirm all feet have stable support.
- Extend slides according to the RV manual.
- Recheck for sinking or unexpected movement.
Following the same routine every trip eventually becomes second nature.
Final Words
Leveling and stabilizing an RV becomes much easier once you separate those two jobs.
First make the RV sit correctly. Then secure it and reduce unwanted movement.
For a manually leveled towable, remember this sequence: level side-to-side, chock the wheels, unhitch, level front-to-back, and stabilize last.
You should also adjust the procedure for your actual equipment.
A small travel trailer stabilizer does not work like a hydraulic motorhome leveling jack.
When your RV has powered or automatic equipment, the manufacturer’s instructions should always come first.
Related FAQs
Should You Level an RV Side-to-Side or Front-to-Back First?
For most manually leveled travel trailers and fifth wheels, level side-to-side first while the RV is still connected to your tow vehicle. Then chock the wheels, unhitch, and use the tongue jack or landing gear to adjust the front-to-back level.
Can You Level an RV With Stabilizer Jacks?
You normally should not level an RV with ordinary stabilizer jacks. These jacks are designed to reduce rocking after the RV is already level. Only use a jack for lifting or leveling when the manufacturer specifically rates it for that purpose.
Do You Chock RV Wheels Before or After Leveling?
For a towable RV, complete your side-to-side tire positioning first. Once the wheels are in their final position, install the wheel chocks securely before disconnecting the tow vehicle or adjusting the front-to-back level.
Can You Use Wood Instead of RV Leveling Blocks?
Strong, properly sized wood can sometimes work, but it needs to be flat, stable, and capable of supporting the RV’s load. Avoid cracked lumber, narrow scraps, or unstable stacks that can shift beneath the tires.
Should RV Tires Come Off the Ground When Leveling?
Do not intentionally lift RV tires off the ground unless your RV and leveling-system manufacturer specifically permits it. Keeping tires properly supported is generally the safest approach for normal campsite leveling.
Do X-Chocks Replace Regular Wheel Chocks?
X-chocks are mainly used to reduce movement between tandem tires. They should not automatically be treated as replacements for standard wheel chocks, which help prevent the trailer from rolling during setup and camping.
Do You Need Stabilizer Jacks If the RV Is Already Level?
Yes, if your RV uses separate stabilizer jacks and you want to reduce interior movement. Leveling corrects the RV’s angle, while stabilizing helps stop rocking when people walk, sleep, or move around inside.
Why Do My Stabilizer Jacks Sink Into the Ground?
Stabilizer jacks usually sink because their small feet concentrate pressure on soft soil, gravel, grass, or hot asphalt. Wide stabilizer pads help distribute the load and create a firmer surface beneath the jack.
Can You Level an RV With the Slides Out?
It is generally better to level the RV before extending the slides. However, some manufacturers specify a different sequence for particular chassis or leveling systems, so follow your RV owner’s manual when it provides specific instructions.
How Often Should You Recheck RV Level?
Recheck the RV after the initial setup and whenever you notice new leaning, shaking, or sinking. Heavy rain, loose gravel, soft soil, or changing ground conditions can sometimes cause an RV to shift during a longer stay.

Ryan Mitchell writes for readers who prefer independent travel and practical outdoor motorhome living. His how-to guides and reviews focus on simplicity, durability, and real value. He brings a calm, hands-on perspective to every topic.